DaVinci Resolve gives you three different ways to remove a background, and picking the wrong one is why most people end up with green fringes, chewed-up hair, and an hour lost. This guide walks all three — the 3D Keyer on the Edit page, the Delta Keyer in Fusion, and the Qualifier on the Color page — then shows what to do in the very common case where you never shot against a green screen at all.
Which DaVinci Resolve method should you use?
Use the 3D Keyer on the Edit page for a quick green screen key, the Fusion Delta Keyer when the key needs to hold up on hair and motion blur, and the Color page Qualifier when you want to isolate a subject that has no green screen behind it.
That ordering matters more than any single slider. Resolve isn't one background-removal tool with three skins — the three paths have genuinely different ceilings:
| Method | Page | Best for | Realistic ceiling |
|---|---|---|---|
| 3D Keyer | Edit | Fast green screen keys | Good enough for clean, evenly lit footage; limited fine control |
| Delta Keyer / Chroma Keyer | Fusion | Hair, motion blur, tricky spill | Highest quality, steepest learning curve |
| Qualifier + Alpha Output | Color | Isolating a subject with no green screen | Works, but manual and shot-dependent |
See video background removal in action
Upload a clip and watch the background disappear — no green screen, no watermark, all in your browser.
Try it freeHow to remove a green screen with the 3D Keyer (Edit page)
Drop the 3D Keyer effect on your clip, use the Pick (eyedropper) tool to sample the green backdrop, then clean the edges with Matte Finesse and kill the green rim with Despill. This is the fastest route in Resolve and handles most well-lit green screen footage.
Step by step:
- Stack your clips. Put the background you want to reveal on video track 1 and your green screen clip on track 2, directly above it.
- Apply the effect. In the Effects panel, find 3D Keyer and drag it onto the green screen clip.
- Sample the green. Open the effect's Inspector settings and select the Pick dropper. Drag it across the green area — a short drag over a range of green samples more values than a single click, which is exactly what you want on an unevenly lit backdrop.
- Refine the matte. Work through the Matte Finesse controls to tighten the edge. Small moves; these controls bite hard.
- Kill the spill. Raise Despill until the green rim on your subject's shoulders and hair disappears.
- Mask out the junk. If light stands or the edge of your backdrop are in frame, add a garbage matte to crop them away rather than fighting them with the keyer.
The honest limitation, and the reason the other two methods exist: the 3D Keyer's controls are deliberately simplified. On footage with wrinkled fabric, uneven lighting, or fast motion, you'll hit a wall where more sliding makes things worse, not better. That's your cue to move to Fusion.
How to key in Fusion with the Delta Keyer
Send the clip to the Fusion page, add a Delta Keyer node, sample the green with the dropper on the Key tab, and use the Image tab for spill suppression. This is the highest-quality keying path in Resolve and the one that survives hair and motion blur.
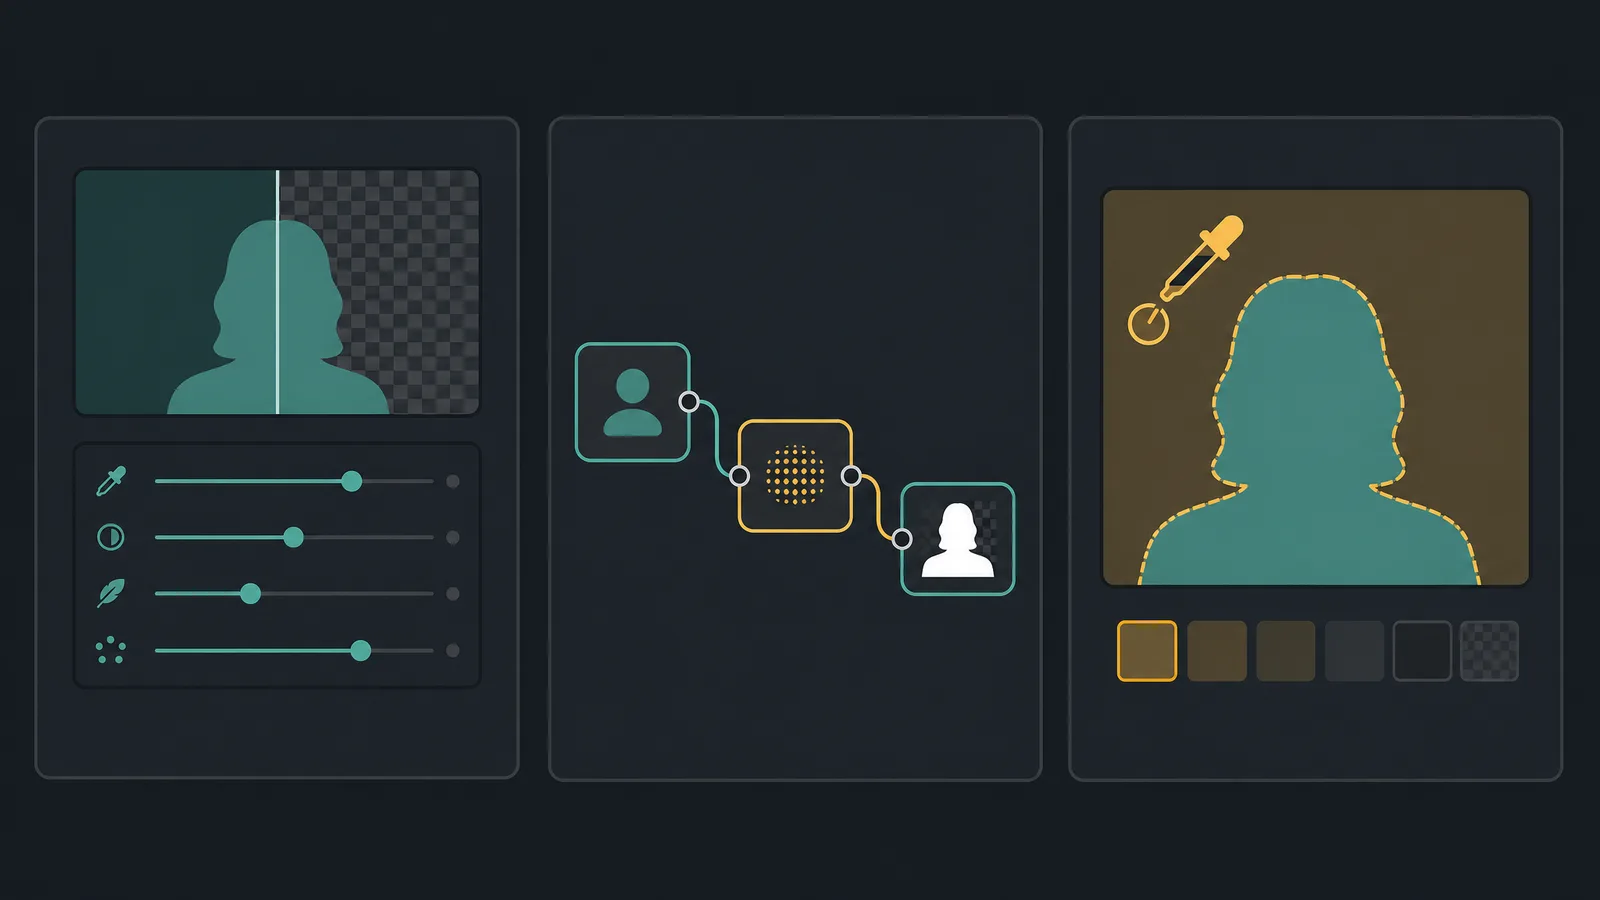
Fusion is node-based rather than slider-based, which is the whole point — you can see and reorder every operation:
- Select the clip and open the Fusion page.
- Add a Delta Keyer node between your MediaIn and MediaOut.
- On the Key tab, use the dropper to select the background color.
- Refine the matte until the subject is solid white and the background solid black in the matte view. A grey subject means a semi-transparent subject.
- Switch to the Image tab for spill suppression, choosing green or blue to match your backdrop.
Fusion also offers a Chroma Keyer node, which exposes a wider color and luminance range with sliders. Delta Keyer is the stronger default; Chroma Keyer is useful when the background color drifts across the frame.
Where Fusion earns its keep is semi-transparent detail — flyaway hair, a glass, motion blur on a swinging arm. Those pixels are partly background and partly subject, and only a keyer with real matte control can represent that. The 3D Keyer tends to make them a binary choice, which is precisely what "cut-out look" means.
How to remove a background without a green screen (Color page Qualifier)
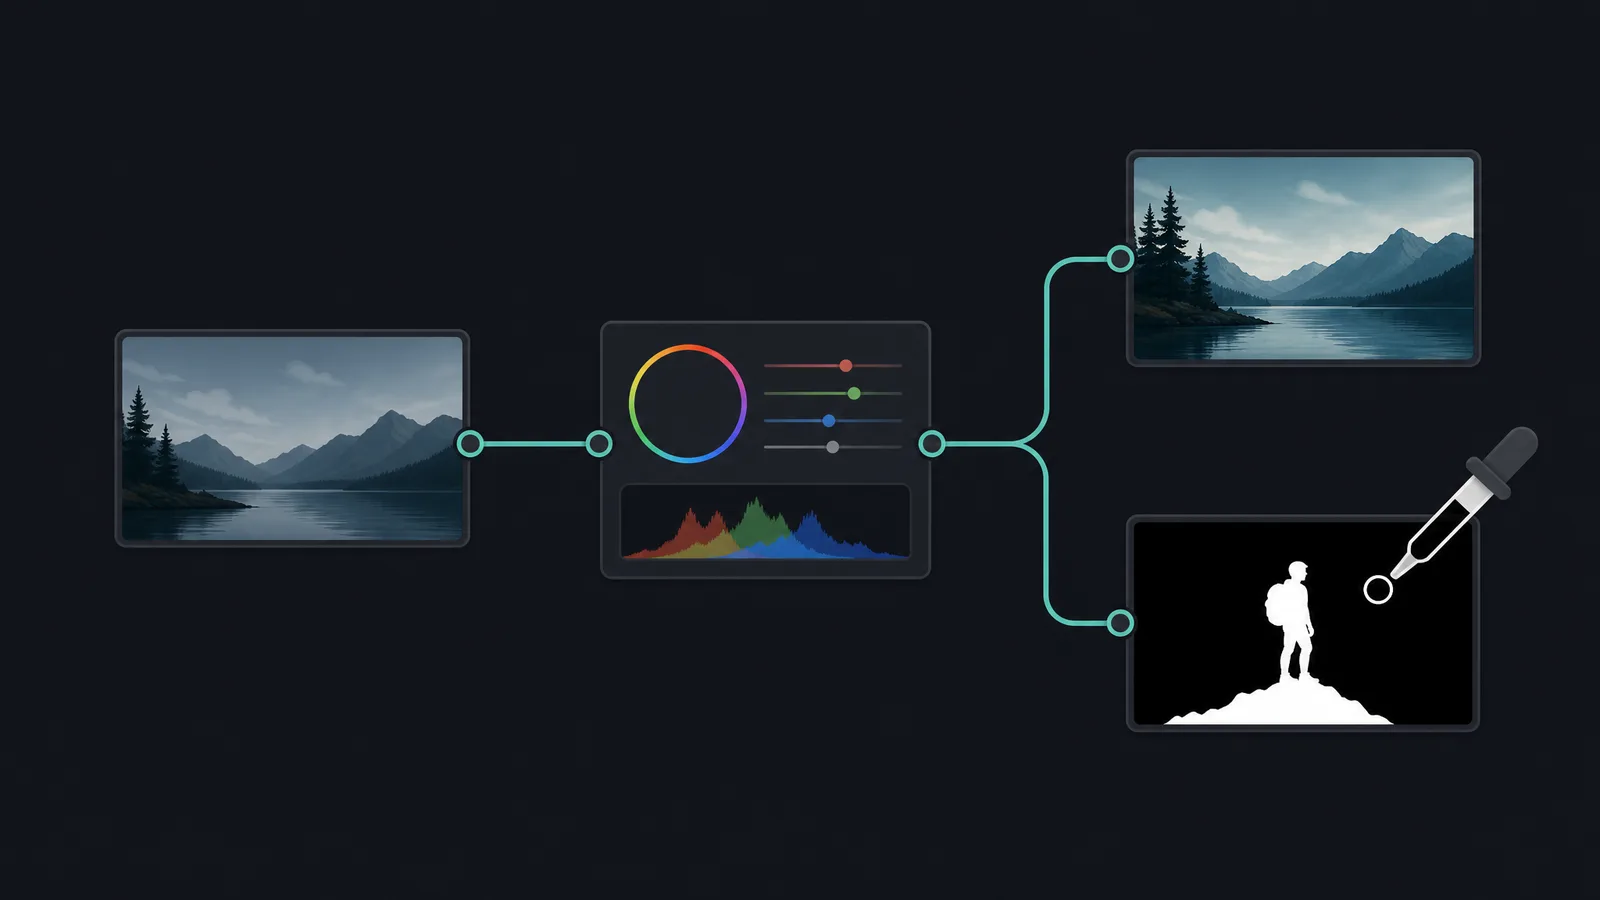
Open the Color page, use the Qualifier to sample your subject or background, click Invert, then add an Alpha Output node and connect your node to it. This is how you isolate a subject in Resolve when there's no green screen — including keying out a plain white background.
- Select the clip on the Color page.
- Pick the Qualifier tool and use its dropper on the background — for a white backdrop, sample the white.
- Click Invert so the selection becomes your subject rather than the background.
- Adjust the threshold and the Matte Finesse controls until the edges hold together.
- Right-click in the node tree and add an Alpha Output node.
- Connect your corrector node's key output to the Alpha Output. The background is now transparent.
- Use Power Windows to mask off anything the Qualifier grabbed by accident.
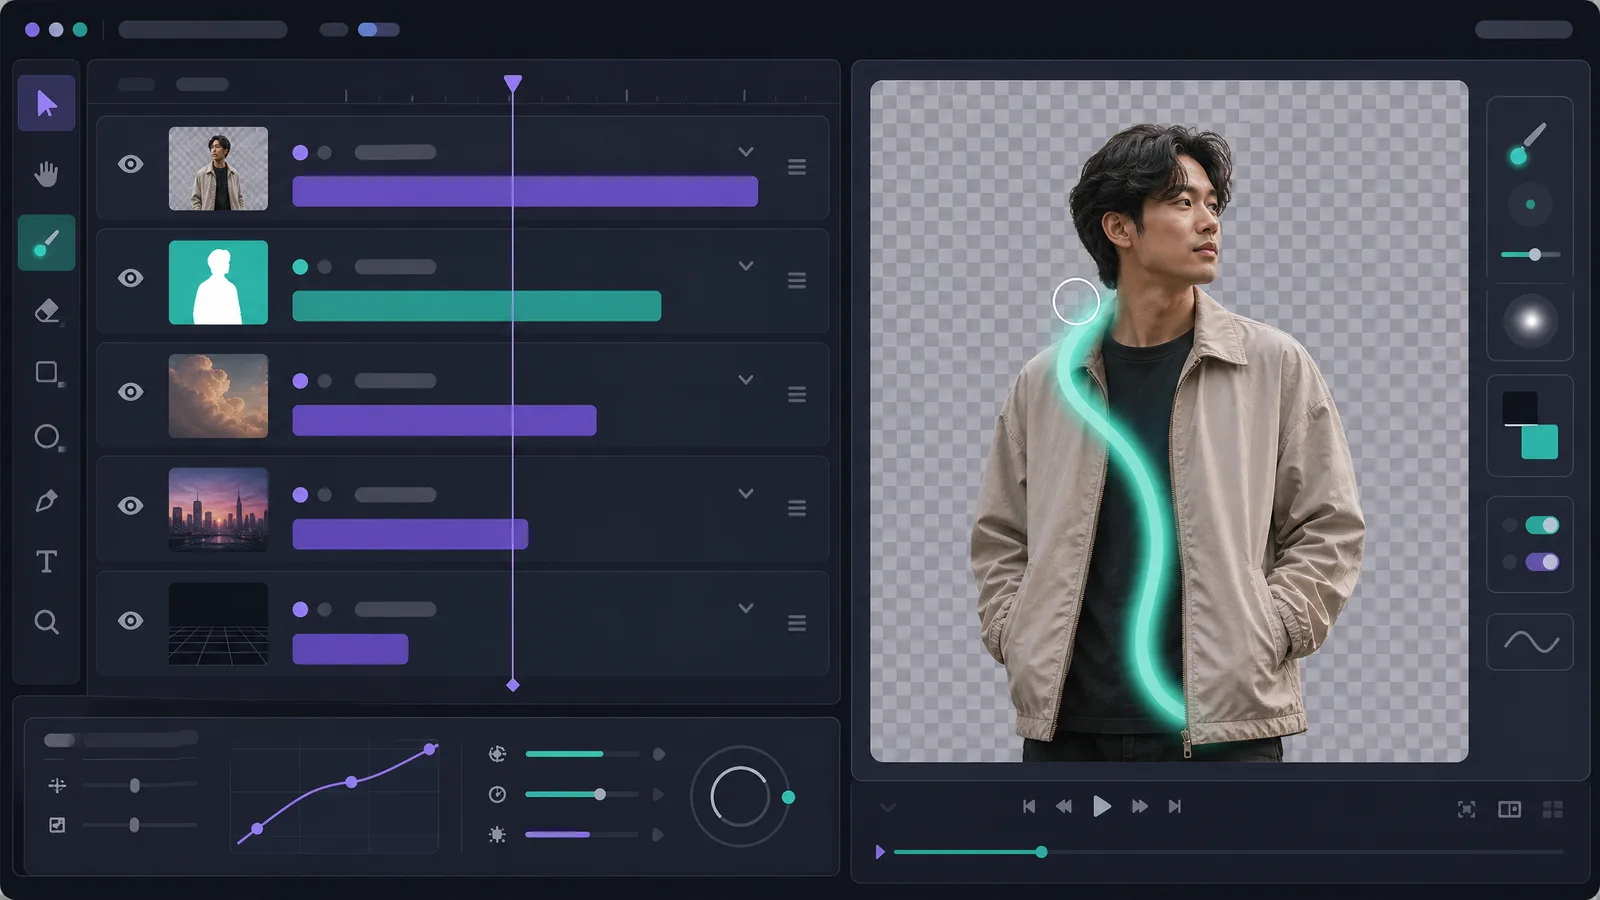
This is the technique behind "key out white background DaVinci Resolve" searches, and it genuinely works — with a real caveat worth stating plainly. The Qualifier separates by color and luminance, not by understanding what a person is. If your subject wears a white shirt against a white wall, or there's a shadow gradient across the backdrop, the Qualifier has no way to tell them apart. You end up hand-drawing Power Windows and keyframing them, which is rotoscoping by another name.
Fixing green spill and chewed edges
Spill is green light bouncing off your backdrop onto your subject. Fix it with the Despill control in the 3D Keyer or the spill suppression on the Delta Keyer's Image tab — and fix the lighting on the next shoot, because no keyer removes spill for free.
Three problems account for nearly every bad key:
- Green rim on hair and shoulders → raise Despill. If pushing it turns your subject magenta, you've gone too far; back off and accept a thin rim, or add a light matte choke instead.
- Crunchy, aliased edges → your matte threshold is too aggressive. Widen it slightly and use a small blur on the matte rather than clamping harder.
- Holes in the subject → something on your subject matches the backdrop color. A blue shirt on a blue screen has no software fix. Use a garbage matte plus a separate qualifier pass, or reshoot.
The uncomfortable truth is that keying quality is decided at the shoot, not in the edit. Even lighting on the backdrop, three or more feet of separation between subject and screen, and a shutter speed that doesn't smear motion will each do more for your key than any slider in Resolve.
One more edge case worth naming, because it eats an evening: compression artefacts. Consumer cameras and phones record heavily compressed 4:2:0 footage, which stores colour at a quarter of the luminance resolution. Green screen edges in that footage are literally not sampled finely enough to key cleanly. You'll see blocky, stair-stepped edges no amount of Matte Finesse fixes, because the detail was never recorded. If you key a lot, shooting in a 4:2:2 codec is the single biggest quality jump available to you — bigger than upgrading your keyer.
Should you key on the Edit page or in Fusion?
Key on the Edit page when the shot is clean and you need it done in two minutes. Move to Fusion the moment you're fighting the matte — the extra setup pays for itself as soon as hair, motion blur, or uneven lighting enter the picture.
A rule of thumb that holds up in practice: if your first Pick-and-Despill pass on the Edit page looks 90% right, finish there. If it looks 60% right, don't grind — every extra minute in the 3D Keyer is a minute you'll spend again in Fusion. The 3D Keyer's simplified controls are a feature when the footage is good and a trap when it isn't.
The same logic applies to the Qualifier route. If your subject separates cleanly from the backdrop by colour alone, the Qualifier is quick and precise. If you find yourself drawing a third Power Window and keyframing it across a moving shot, stop — you've crossed from keying into rotoscoping, and that's a job where an AI matting tool finishes in seconds what will otherwise take you the rest of the afternoon.
When an online background remover is the faster call
If you never shot a green screen, or you just need a clean transparent clip without learning node graphs, an AI matting tool does in seconds what the Qualifier route takes an hour to hand-tune — no keying, no Power Windows, no rotoscoping.
The two approaches genuinely serve different jobs:
- Stay in Resolve when the shot is part of a larger grade, when you need frame-accurate control over a difficult matte, or when you're already deep in a Fusion comp. Nothing online beats a well-built Delta Keyer node tree.
- Go online when there's no green screen, when you need a handful of social clips out the door today, or when the clip just needs to sit cleanly over another background.
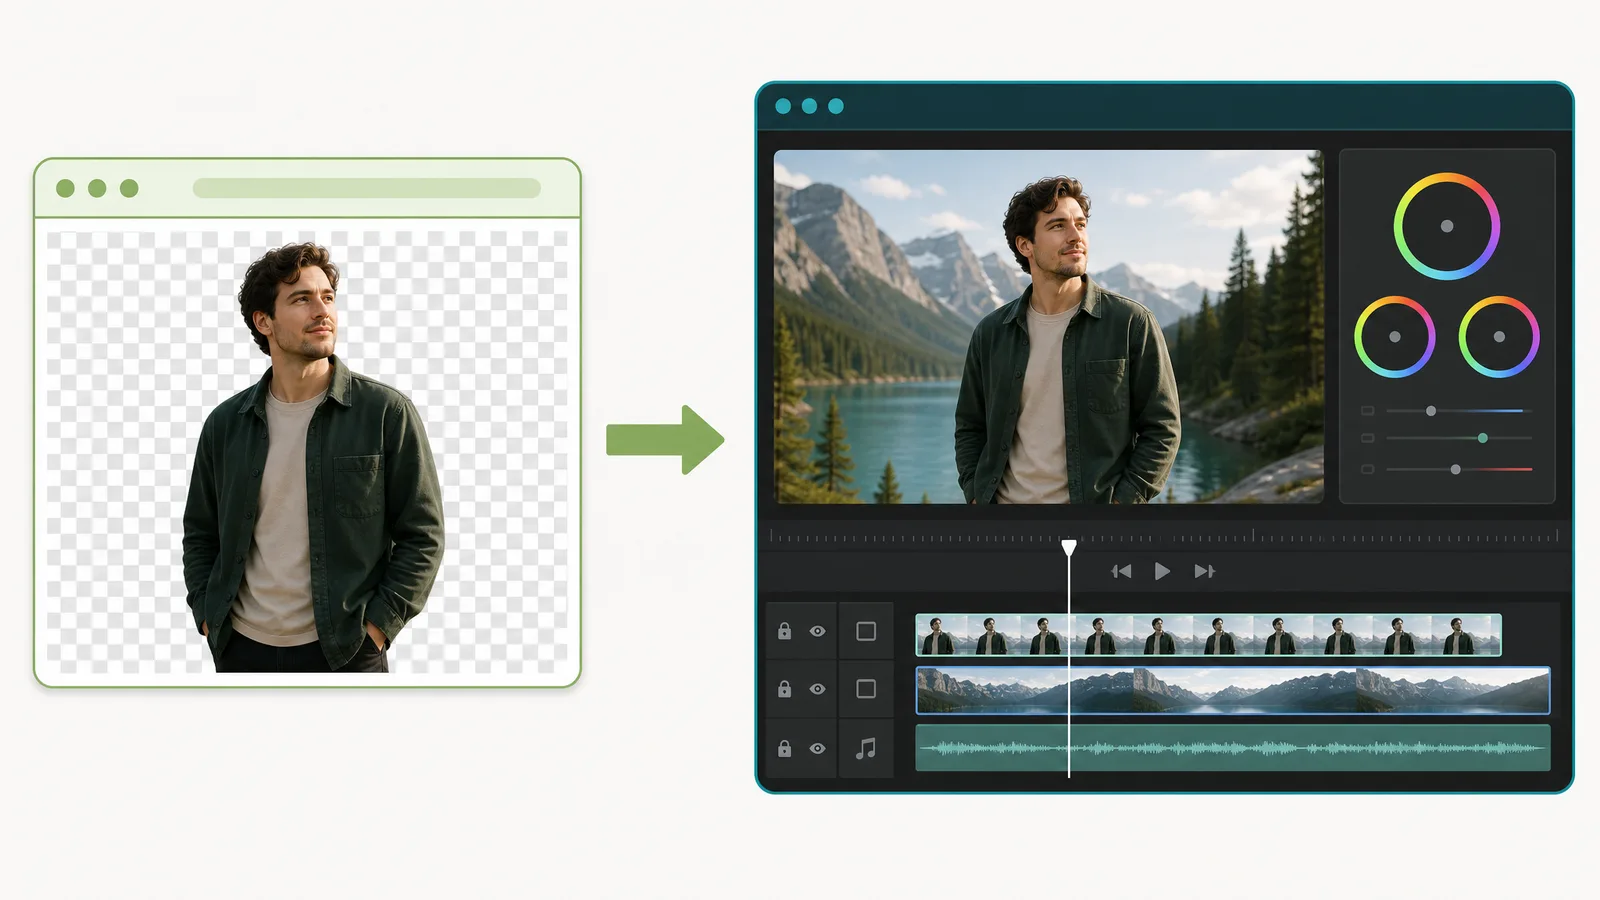
Our video background remover runs the Bria v3 matting model, so it separates subject from background without any green screen at all, and exports a transparent WebM with a real alpha channel that drops straight back into a Resolve timeline. Short clips are free with no watermark; only longer videos draw on credits. The DaVinci Resolve alternative page lays the two side by side if you want the direct comparison. If you specifically shot green screen, the dedicated green screen remover and chroma key remover pages handle that intent directly, and the transparent video guide covers which formats actually preserve alpha.
Remove your video background now
Automatic, accurate cutouts in minutes. Start free — no install, no watermark.
Get startedA practical hybrid a lot of editors settle on: pull the cutout online, then import the transparent WebM into Resolve and do the grading, compositing, and finishing where Resolve is genuinely unbeatable. You skip the keying hour and keep the color pipeline.
If you're comparing across tools rather than staying in Resolve, the same trade-off shows up elsewhere: Runway's removal tools are gated by plan and capped at five-second clips, and CapCut's auto removal has a monthly quota and no transparent export. Resolve is the most capable of the three and also the most work — which is exactly the choice you're making. Staying inside Adobe instead? Premiere Pro has no AI removal at all and After Effects answers with the Roto Brush, which is the closest thing Adobe has to Resolve's Magic Mask. And if the shot is a green screen rather than an arbitrary background, our green screen removal guide compares keying in an editor against doing it online.
Frequently asked questions
Can DaVinci Resolve remove a background without a green screen?
Yes — use the Qualifier on the Color page with an Alpha Output node, or roto with Power Windows. It works, but it separates by color and luminance rather than by recognising a subject, so it struggles when your subject and background share tones.
Is background removal available in the free version of DaVinci Resolve?
Yes. The 3D Keyer, the Fusion Delta Keyer, and the Color page Qualifier are all available in the free version of DaVinci Resolve. You do not need Studio to key a green screen.
Why does my green screen key still show a green edge?
That's spill — green light bounced onto your subject. Raise Despill in the 3D Keyer or use spill suppression on the Delta Keyer's Image tab. If it survives that, the backdrop was too close to your subject during the shoot.
What's the difference between the 3D Keyer and the Delta Keyer?
The 3D Keyer lives on the Edit page and is optimised for speed with simplified controls. The Delta Keyer is a Fusion node with far more matte and spill control, which is what you need for hair, motion blur, and semi-transparent edges.
How do I export a transparent video from DaVinci Resolve?
Set your delivery to a codec that carries an alpha channel and enable alpha export in the render settings — MP4/H.264 cannot store transparency and will fill it with black. See our guide to exporting transparent video for the format-by-format breakdown.
Can I use an online cutout inside DaVinci Resolve?
Yes, and it's a common workflow. Export a transparent WebM from an online remover, import it into Resolve, and composite or grade from there — you skip the keying step but keep Resolve's finishing tools.