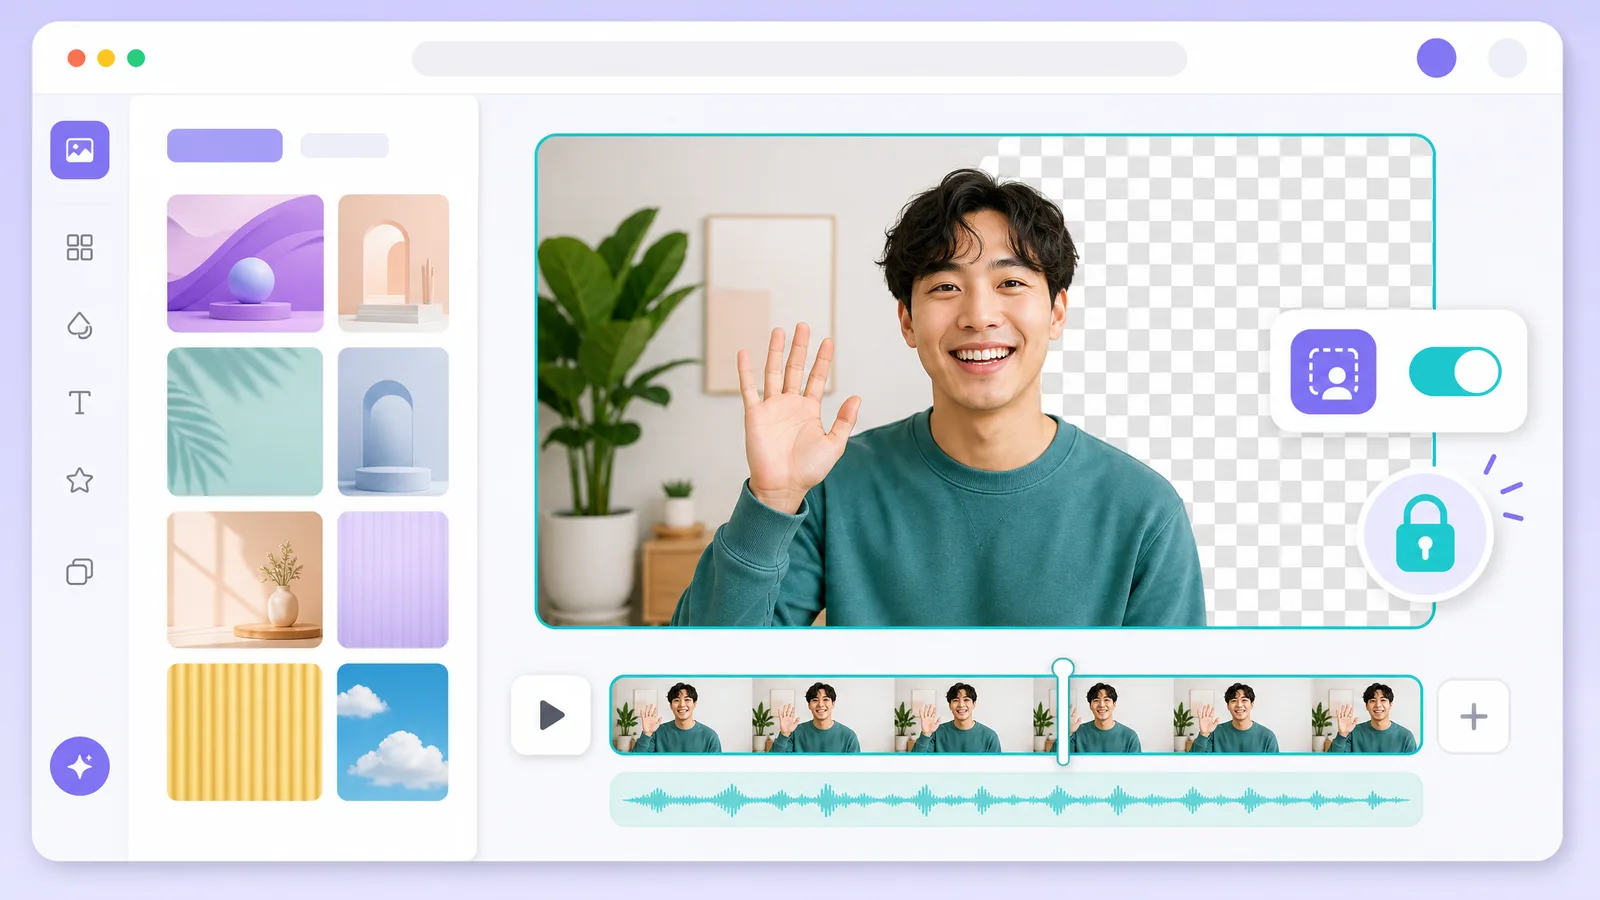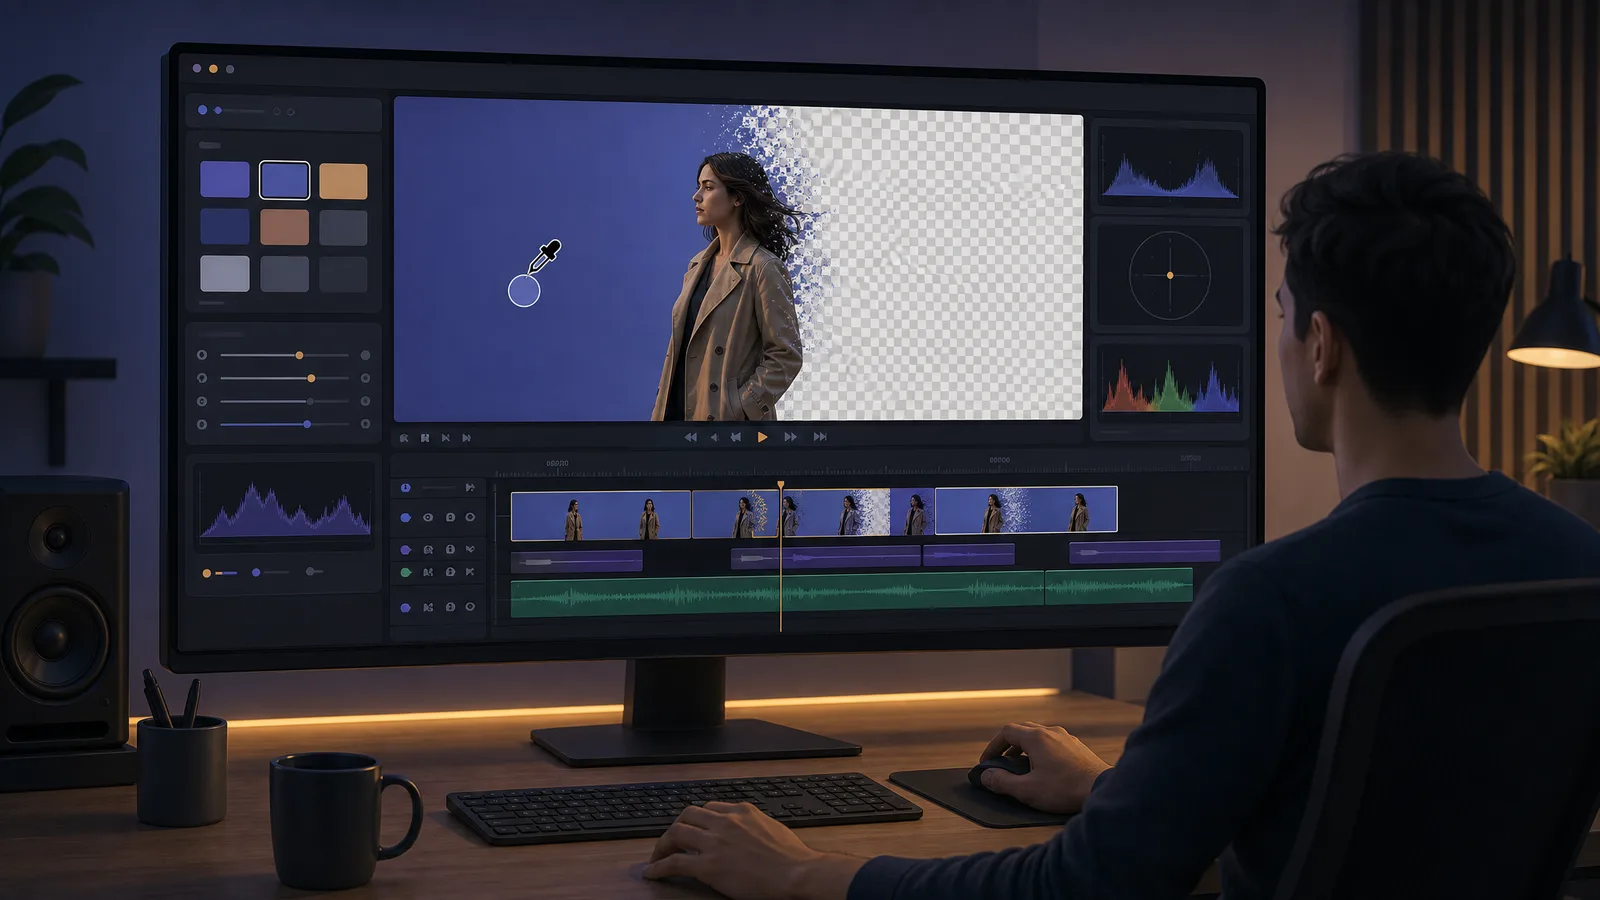
After Effects is the only Adobe app that can isolate a person without a green screen, and the reason is the Roto Brush — an AI-assisted rotoscoping tool that propagates your selection across frames instead of making you draw every one. That single capability is why editors round-trip out of Premiere to get here. This guide covers all three removal paths, then the render setting that quietly destroys more transparent exports than every keying mistake combined.
Which After Effects method should you use?
Use Keylight (1.2) when you shot a green or blue screen, the Roto Brush when there is no keyable backdrop and your subject moves, and a luma key when you're pulling a high-contrast graphic. Keylight takes minutes; Roto Brush takes minutes plus render time; hand-rotoscoping takes an afternoon.
Unlike Premiere, none of these is a dead end — the question is only what your footage gives you to work with:
| Method | Needs | Effort | Renders? |
|---|---|---|---|
| Keylight (1.2) | Green or blue backdrop | 5–15 min of sliders | No |
| Roto Brush 3 | Nothing — works on any shot | Paint once, then correct | Yes — propagation and Freeze |
| Extract / luma key | High-contrast graphic | 2–5 min | No |
If your subject was never in front of a green screen, skip to the Roto Brush section. And if you'd rather not render at all, our online green screen remover produces a transparent clip you can import straight into a composition.
See video background removal in action
Upload a clip and watch the background disappear — no green screen, no watermark, all in your browser.
Try it freeHow to key a green screen with Keylight
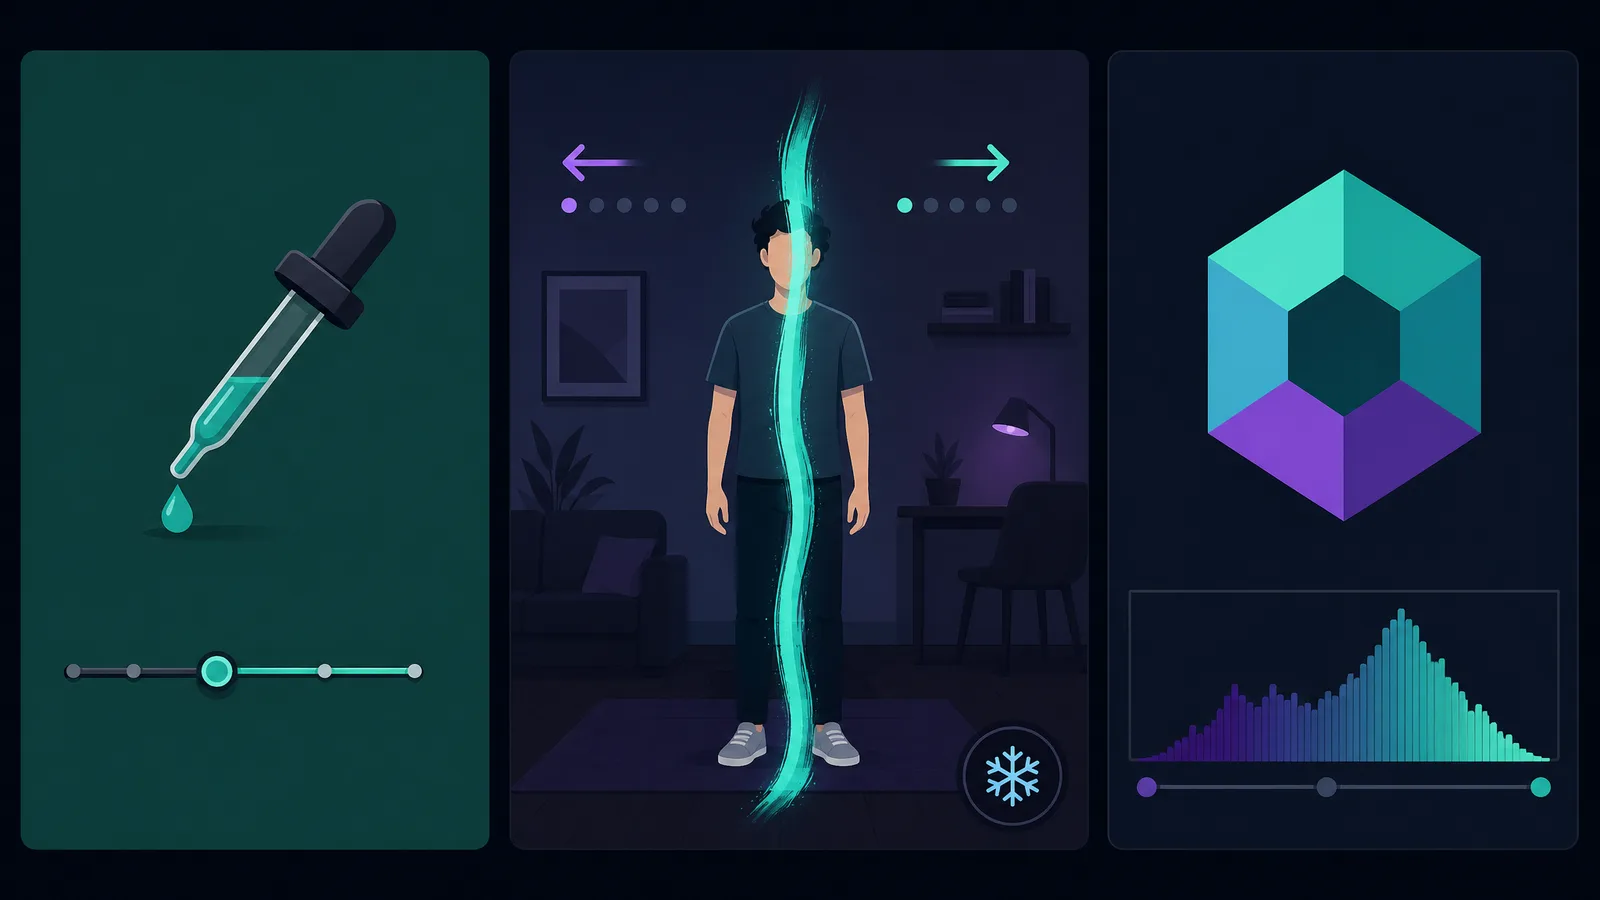
Select the layer and go to Effect > Keying > Keylight (1.2), then click the Screen Colour eyedropper and sample your backdrop. That single click does most of the work — Keylight is genuinely good, and the sliders below it exist to fix the last ten percent.
The step almost everyone skips is switching View from Final Result to Screen Matte. In that view your subject must be pure white and your background pure black. Anything grey is a partly transparent pixel, which is correct on hair and motion blur and wrong everywhere else.
- Add the effect. With the clip selected, Effect > Keying > Keylight (1.2).
- Sample the screen. Use the Screen Colour eyedropper on the backdrop — click near your subject's edge, not the brightest patch of the wall, because the edge is where the key has to hold.
- Switch View to Screen Matte. Stop judging the key against your background.
- Clip Black. Raise it until the background is fully black — no grey haze.
- Clip White. Lower it until your subject is fully white — no grey holes in the torso.
- Screen Shrink/Grow. Pull the edge in by a small amount if there's a bright fringe.
- Switch View back to Final Result and check the composite.
Clip Black and Clip White are the whole key. If you find yourself opening Screen Balance, Despot, and Alpha Bias before you've settled those two, you're tuning the fine controls against a matte that hasn't been established yet.
Keylight also has Screen Despot Black and Screen Despot White, which clean up isolated speckles — dust on the backdrop, or stray pixels inside the subject. Use them after Clip Black/White, never before.
How to remove a background without a green screen using the Roto Brush
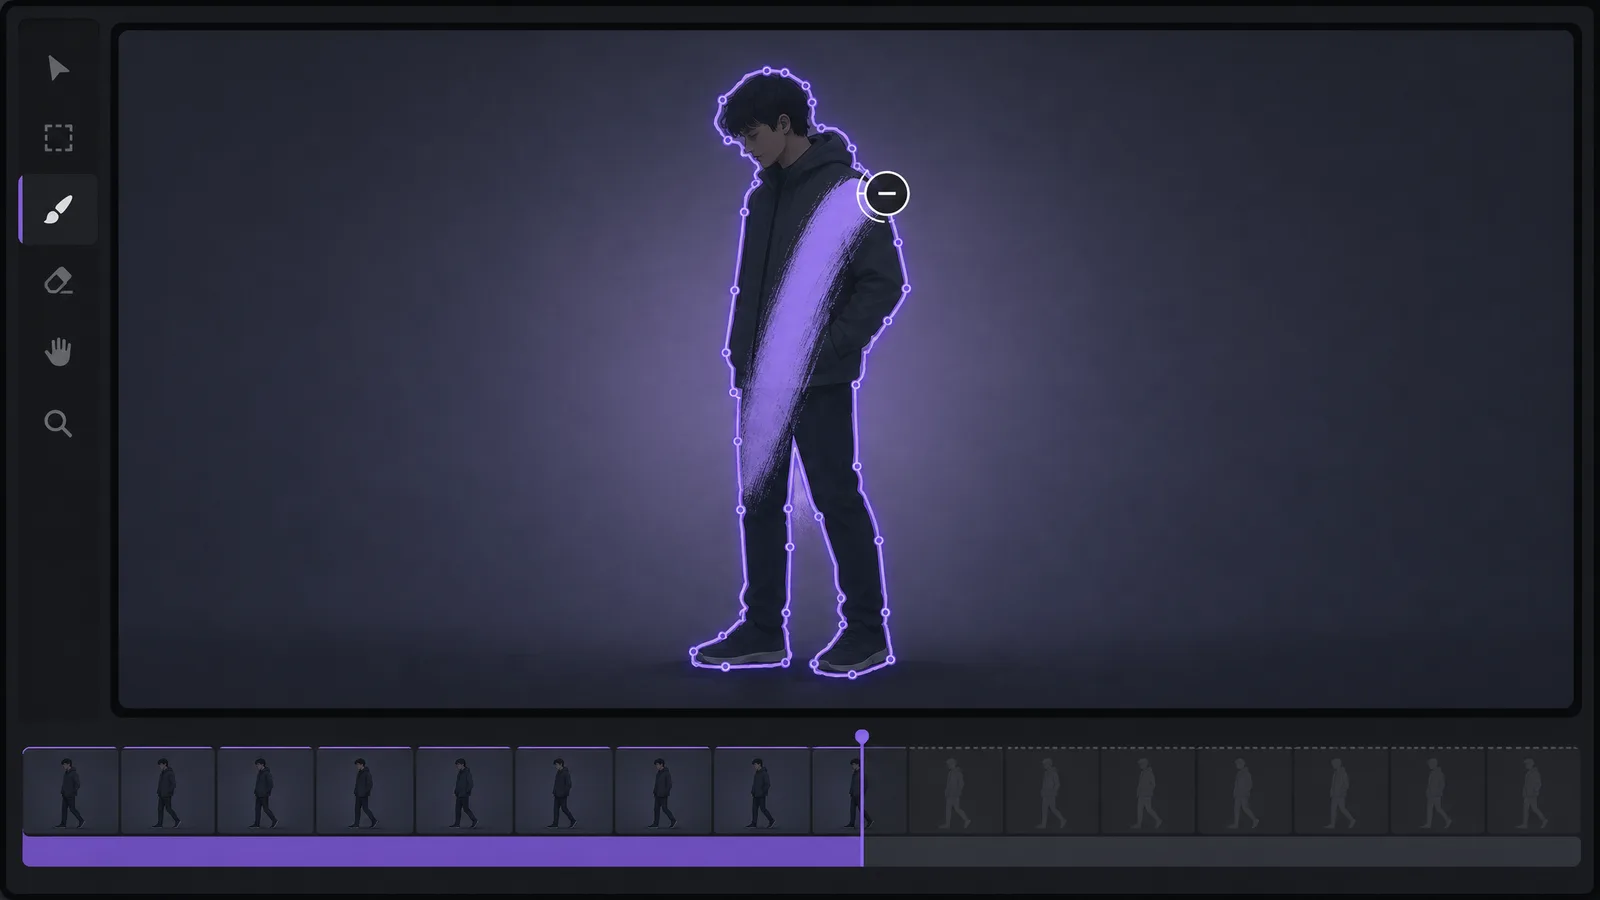
Double-click the layer to open the Layer panel, select the Roto Brush tool, and paint a stroke down the middle of your subject. After Effects builds a selection, then propagates it forward and backward across the shot on its own.
This is the capability Premiere does not have, and it changes what is possible on ordinary footage:
- Double-click the layer to open it in the Layer panel — Roto Brush only works there, not in the Composition panel.
- Select the Roto Brush tool and paint a green stroke through the centre of your subject. Don't trace the outline; a rough stroke down the body is what it wants.
- Subtract mistakes. Hold Alt/Option and paint to remove areas it grabbed by accident.
- Propagate. Step forward through the shot — After Effects extends the selection frame by frame and shows you the span it has solved.
- Correct as it drifts. Add or subtract strokes wherever the boundary slips.
- Refine the edge. Use Refine Edge on hair and soft boundaries.
- Freeze. Lock the result so After Effects caches it instead of recomputing on every playback.
Roto Brush 3 improved the Freeze step specifically: instead of recalculating every frame, it caches inference for frames it has already propagated, which makes freezing markedly faster than earlier versions. That matters because Freeze on a long shot used to be the point where people gave up.
The honest limitation: Roto Brush is AI-assisted rotoscoping, not instant matting. On a clean shot with good separation it is close to magic. On a subject who crosses their own arms, turns away, or walks behind an object, you will be correcting strokes and waiting on propagation — and the render is real time you spend.
How to fix spill and refine the matte
Green spill is bounced backdrop light on your subject's hair and shoulders. Keylight suppresses it automatically when you sample the Screen Colour, and Despill Bias is where you correct it when the automatic pass overshoots and your subject goes magenta.
The recurring failures and what actually fixes them:
- Magenta or pink skin after keying → the despill is over-correcting. Set Despill Bias by sampling your subject's skin tone so Keylight knows what colour to protect.
- Grey haze in the background on the Screen Matte → Clip Black is too low. Raise it until the background is genuinely black.
- Holes appearing in your subject → Clip White is too high. Lower it until the torso is solid.
- Chewed, aliased edges → you've clipped too aggressively at both ends. Widen the range slightly and use Screen Softness rather than clamping harder.
- Speckles in the backdrop → Screen Despot Black, one or two units.
Like every keyer, Keylight cannot recover information the camera never recorded. Consumer cameras and phones capture 4:2:0 colour subsampling, which stores colour at a quarter of the luminance resolution — green screen edges in that footage are physically not sampled finely enough for a clean key. If your edges look blocky no matter what you do, that's the codec, not the effect.
How to remove a white background in After Effects
For a white or black backdrop, skip Keylight and use the Extract effect or Linear Color Key — both key on luminance rather than hue, which is exactly what a white background gives you. Keylight expects saturated colour and has almost nothing to work with on white.
The distinction trips people up because "remove a white background in After Effects" and "remove a green screen" sound like the same request:
- White or black backdrop, graphic or logo → Extract. Set the channel to Luminance and drag the histogram handles until the background drops out. Seconds of work.
- White backdrop, a person standing in front of it → this is not a luma key problem. Skin, hair and clothing all contain bright values, so any luminance threshold that clears the wall also punches holes in your subject. Use the Roto Brush.
- Product on white, no motion → Extract plus a garbage mask usually gets there, because there is no ambiguous edge detail to protect.
That middle case is the one worth internalising. A luma key separates bright from dark, not subject from background — so a person in a white shirt against a white wall has no luminance boundary to find, no matter how carefully you set the handles. Every tutorial that demonstrates a white-background removal on a dark-clothed subject is quietly relying on contrast that your footage may not have.
If you're keying a white background and holes keep appearing in your subject, stop adjusting the threshold. You are asking a luminance tool to make a semantic decision it cannot make — switch to the Roto Brush rather than tuning further.
How to render with a real alpha channel
In the render queue, open Output Module settings and set Channels to RGB + Alpha. Leave it on plain RGB and your transparency is discarded at render time — the most common way a perfect key ends up as a black box.
The complete path:
- Add the composition to the Render Queue (or send it to Media Encoder).
- Click Output Module to open its settings.
- Set Channels to RGB + Alpha.
- Choose a format and codec that can carry alpha. H.264 MP4 cannot — it has no alpha channel at all, and selecting it silently discards the transparency you just spent an hour building.
- Render.
That format decision is where most transparent exports die, and it deserves more than a bullet — our transparent video export guide breaks down every alpha-capable format, what each one costs in file size, and where each one is actually supported. Read it before you pick a codec.
Remove your video background now
Automatic, accurate cutouts in minutes. Start free — no install, no watermark.
Get startedWhen an online cutout beats a 40-minute roto pass
If you need a transparent clip and not a comp, an AI matting tool returns one in seconds — no Roto Brush strokes, no propagation, no Freeze, no render queue. You then import that clip into After Effects and carry on.
The two approaches are genuinely for different jobs:
- Stay in After Effects when the cutout feeds a larger composition, when you need frame-accurate control over a difficult edge, or when the shot is already part of a comp with expressions, tracking and effects on it.
- Go online when the deliverable is the transparent clip, when there was no green screen, or when the alternative is 40 minutes of Roto Brush on a 15-second shot.
Our video background remover runs the Bria v3 matting model, so it separates subject from background with no green screen and exports a transparent WebM with a real alpha channel that imports into a composition and composites immediately. It's free to start, adds no watermark, and you pay only for the seconds you process. If you shot green, the green screen remover and chroma key remover pages handle that case directly, and the transparent video page covers what alpha export means end to end.
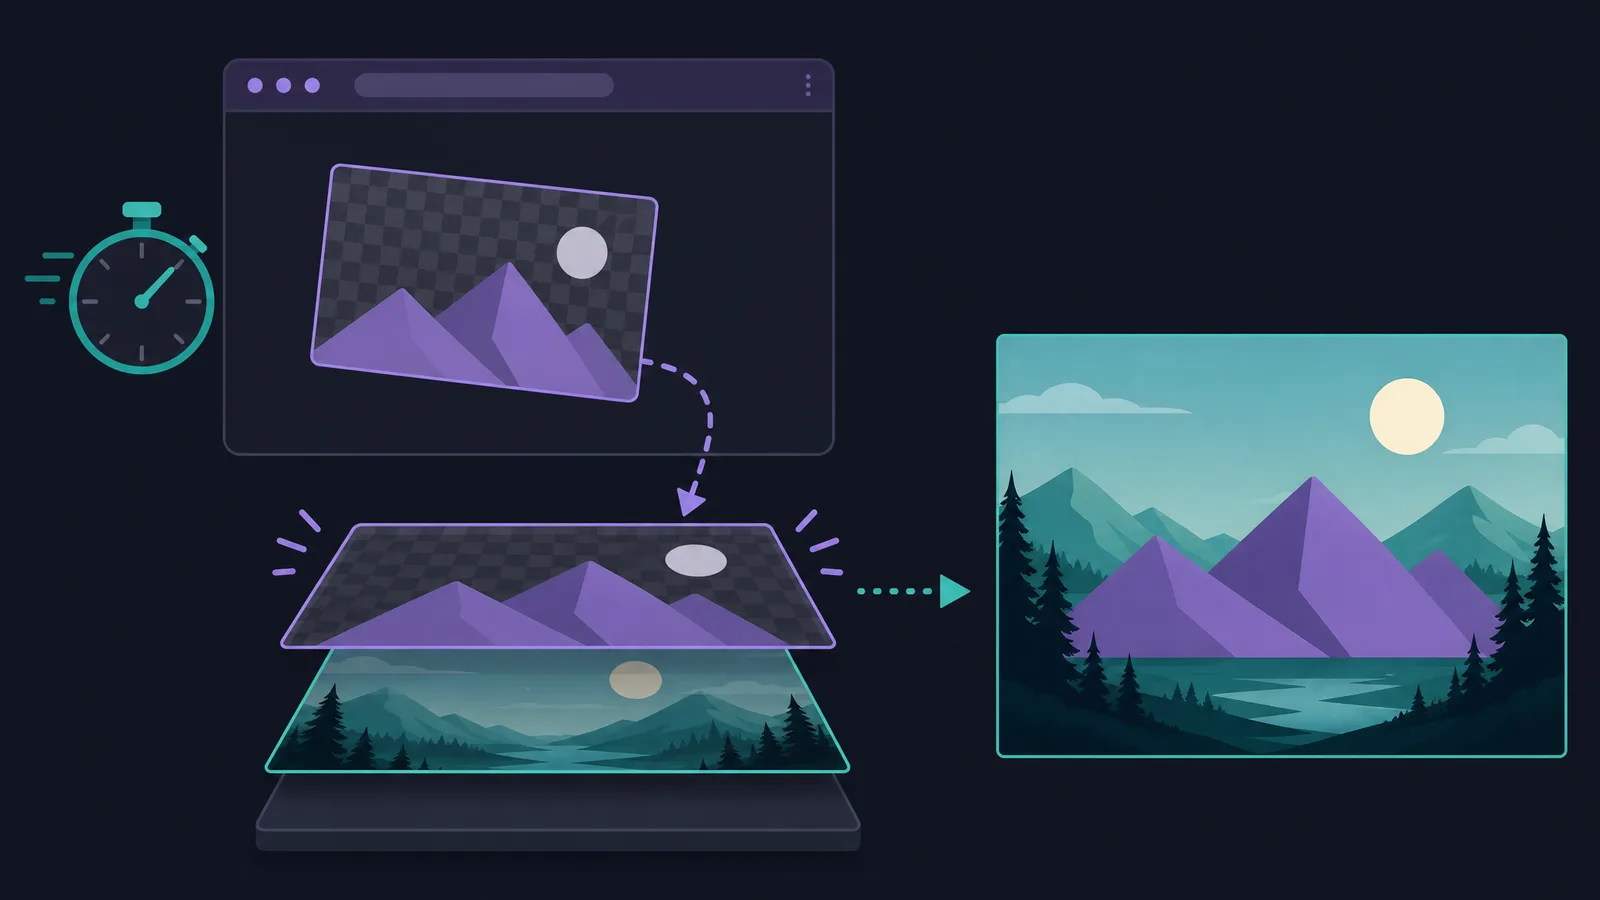
Where this gets practical: pull the cutout online, import it, and spend your After Effects time on the parts After Effects is unmatched at — tracking, expressions, particle work, the actual composite. You skip the roto and keep the comp. If you're weighing editors rather than staying in Adobe, Premiere Pro has no AI removal at all, and DaVinci Resolve's three keying paths are the strongest free option. If your footage is green screen rather than an arbitrary background, our green screen removal guide covers that path end to end.
Frequently asked questions
Can After Effects remove a background without a green screen?
Yes — the Roto Brush isolates a subject on any footage by propagating a painted selection across frames. It is AI-assisted rotoscoping rather than instant matting, so expect to correct strokes on difficult movement and to wait on the Freeze step.
What is the difference between Keylight and the Roto Brush?
Keylight keys a colour; the Roto Brush isolates a subject. Keylight needs a green or blue backdrop and works in seconds. Roto Brush needs no backdrop at all but requires painting, propagation, and a Freeze pass, so it costs more time.
Why is my After Effects export not transparent?
Almost always the Output Module Channels setting — it defaults to RGB, which discards alpha. Set it to RGB + Alpha and pick a codec that supports transparency. H.264 MP4 cannot store an alpha channel regardless of that setting.
Is Keylight included with After Effects?
Yes. Keylight (1.2) ships with After Effects under Effect > Keying > Keylight (1.2). There is no separate purchase or plugin install for it.
Why does my subject look magenta after keying?
The despill has over-corrected. Sample your subject's skin with Despill Bias so Keylight knows which colour to preserve, then reduce the correction until the magenta cast disappears and only a faint rim remains.
Can I use an online cutout inside After Effects?
Yes. Export a transparent WebM from an online remover, import it into your project, and drop it into the composition — the alpha channel is preserved, so it composites over your background layer with no keying step.
How long does the Roto Brush take on a long clip?
It depends on movement, not just length. A clean, slow shot propagates quickly; a subject who turns, gestures or is partly occluded needs correction strokes on many frames. Budget real time for both the corrections and the Freeze pass on anything over a few seconds.