Faces of bystanders
Cover selected faces before sharing an event recap with a wider audience.

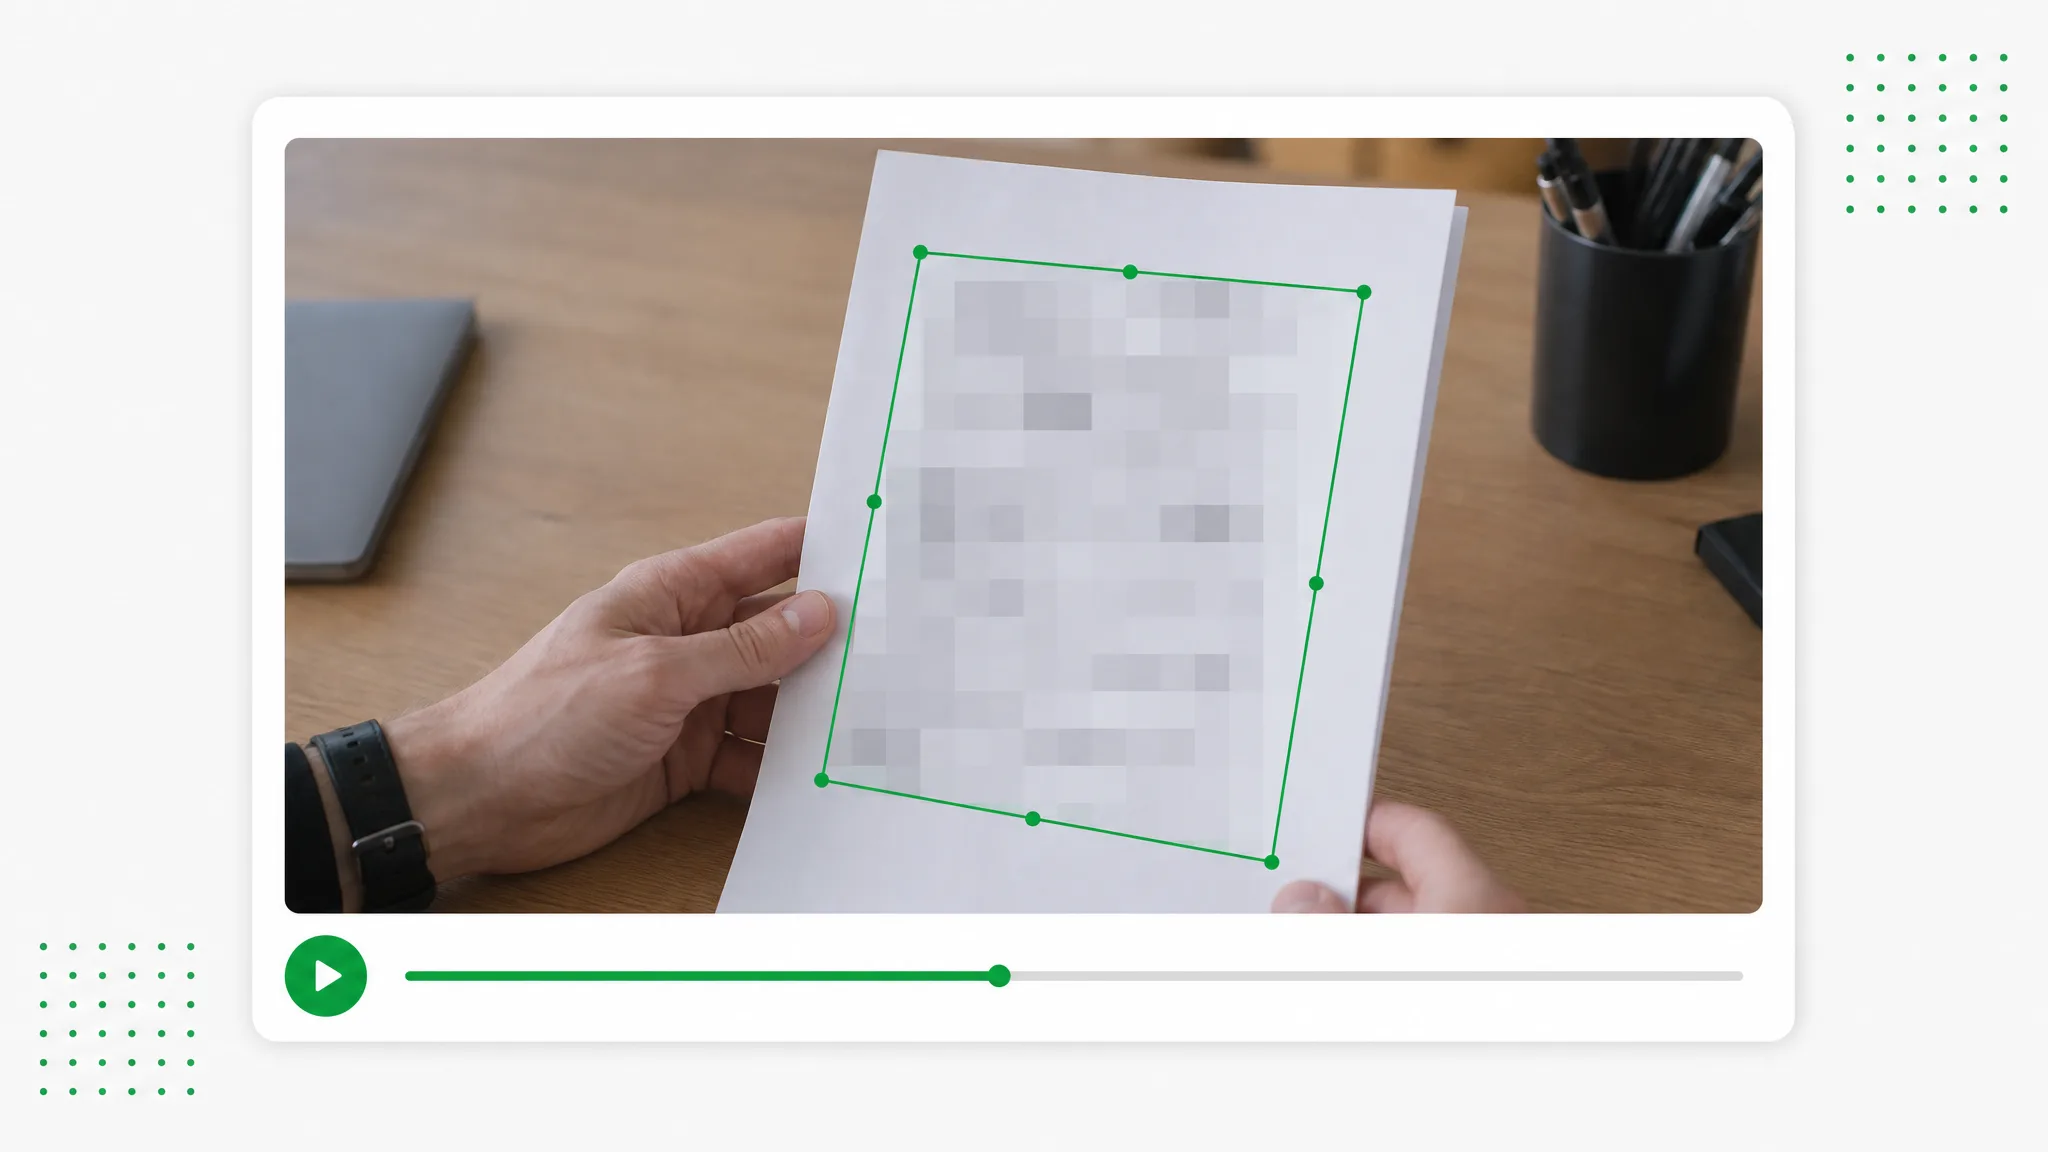
Prepare screen recordings and everyday footage for sharing. Draw boxes over chosen details, select blur or pixelation and set the time ranges for each region.
Before and after
Plan what viewers see in a shared recording, from a software panel to a document on screen.
A presenter prepared as a separate subject for another scene.
An action example showing the subject against a changed background.
An animated character shown separately from its original setting.
A stylized creature prepared for a layered composition.
A creator and product example with the background removed.
An animated scene element prepared for a new background.
A presenter prepared as a separate subject for another scene.
An action example showing the subject against a changed background.
An animated character shown separately from its original setting.
A stylized creature prepared for a layered composition.
A creator and product example with the background removed.
An animated scene element prepared for a new background.
Features
Prepare screen recordings and everyday footage for sharing. Draw boxes over chosen details, select blur or pixelation and set the time ranges for each region.
Mark a name, screen panel or document detail before sharing a screen recording.
Create a Transparent ClipSet a region’s time range for the moments when that detail is visible.
Use Your Own FootageChoose blur for a softer treatment or pixelation for a visible mosaic.
Choose a New SettingPreview the edited sections and save a version for the tutorial or publication.
Prepare Your Next ClipHow it works
Set a region’s time range for the moments when that detail is visible.
Open your recorded video in the browser. Mark a name, screen panel or document detail before sharing a screen recording.
Draw the selected regions, set their time ranges and apply blur or pixelation. Set a region’s time range for the moments when that detail is visible.
Preview the result and download the prepared clip. Preview the edited sections and save a version for the tutorial or publication.
Project ideas
Choose blur for a softer treatment or pixelation for a visible mosaic.
Cover selected faces before sharing an event recap with a wider audience.
Mark the plate or address that appears in a travel clip before publishing it.
Hide account names and form fields in a recorded software walkthrough.
Apply a region only during the moments when private details appear on screen.
Creator stories & examples
“My invoicing tutorial used a real account, and the customer panel stayed open during the demonstration. I used video censorship to draw a box over that panel and set its visible time range. The menu and cursor remained readable in the saved clip, so I could use the recording in our onboarding lesson.”
 Lucia MarenSoftware Trainer
Questions and answers
Plan your edit
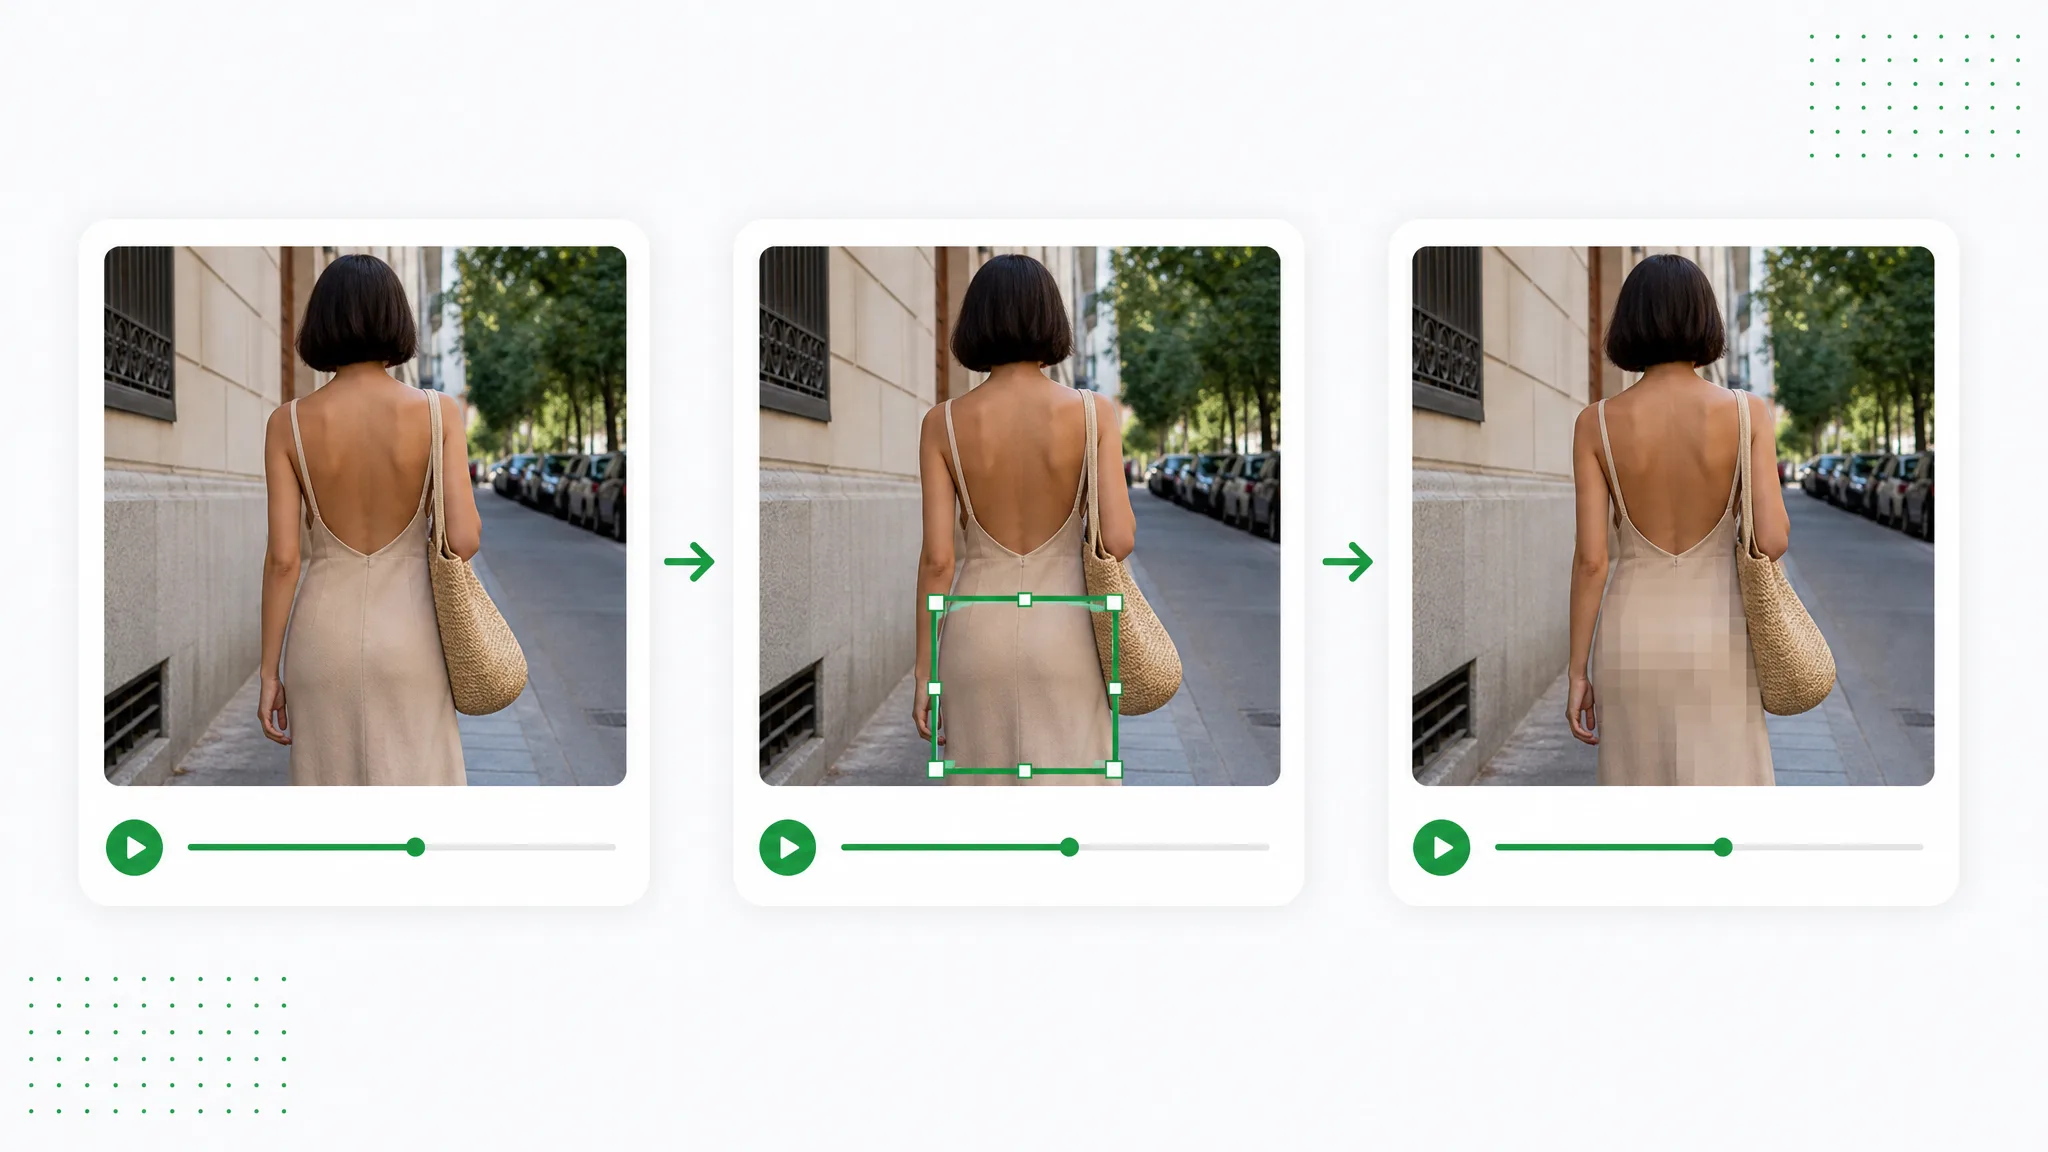
Draw a box over each detail to cover, choose blur or pixelation and set its time range. Preview the edited sections before saving your video.
Set a region’s time range for the moments when that detail is visible.
Add a separate box for each screen or document detail you want to cover. Preview the selected regions together before saving.
Preview the edited sections and save a version for the tutorial or publication.
Choose blur or pixelation and adjust its strength. Preview how the covered area looks alongside the rest of your footage before you save the result.
Place additional boxes with suitable time ranges as the detail changes position. Scrub through the relevant sections to check coverage.
Reviewed by RemoveVideoBG TeamUpdated
Related tools
Other tools for removing, replacing, and keying video backgrounds.
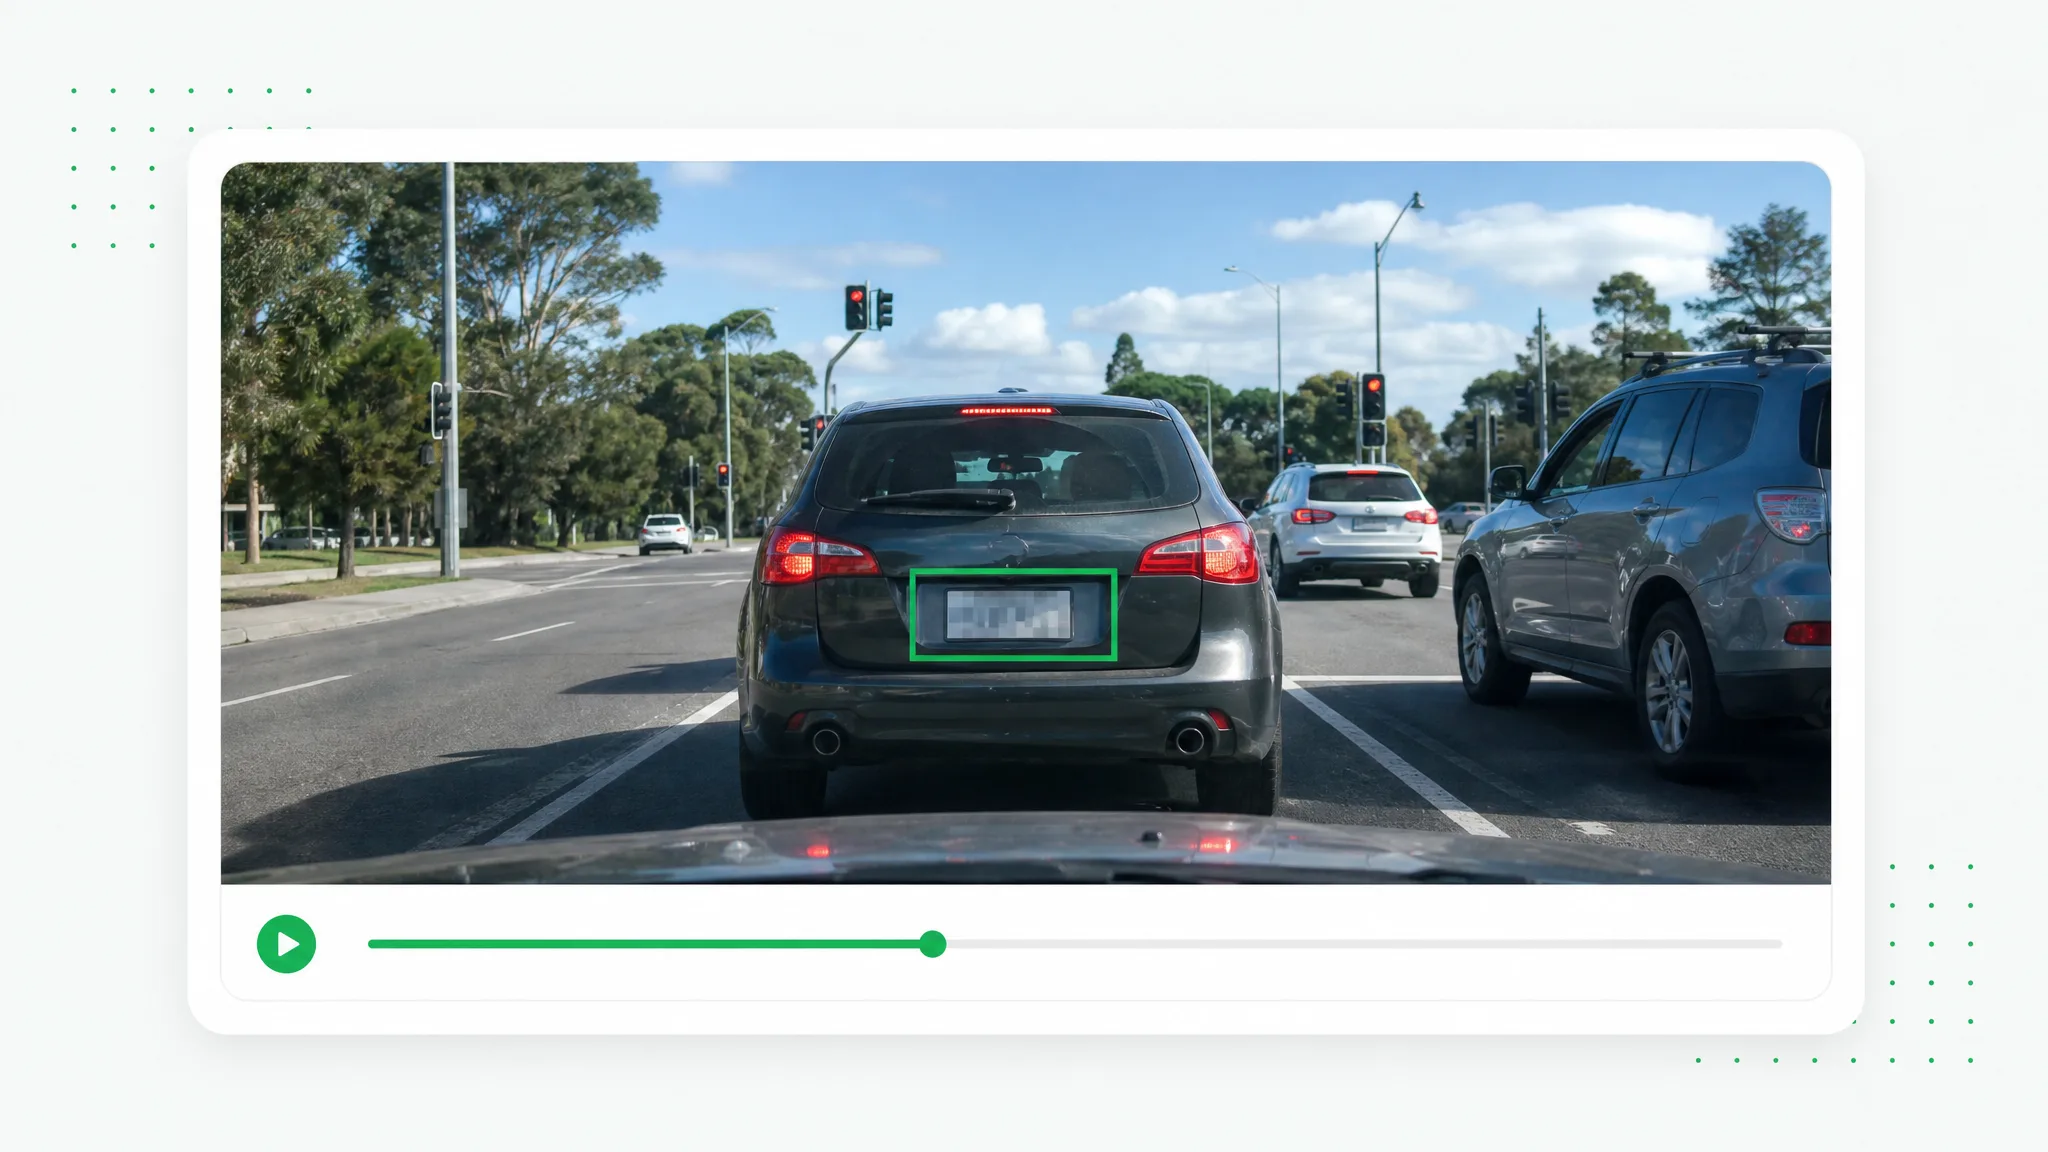
Prepare a vehicle walkaround, dashcam segment or street recording for publication. Mark the plates you choose to cover and adjust each region for the relevant part of the shot.
Try now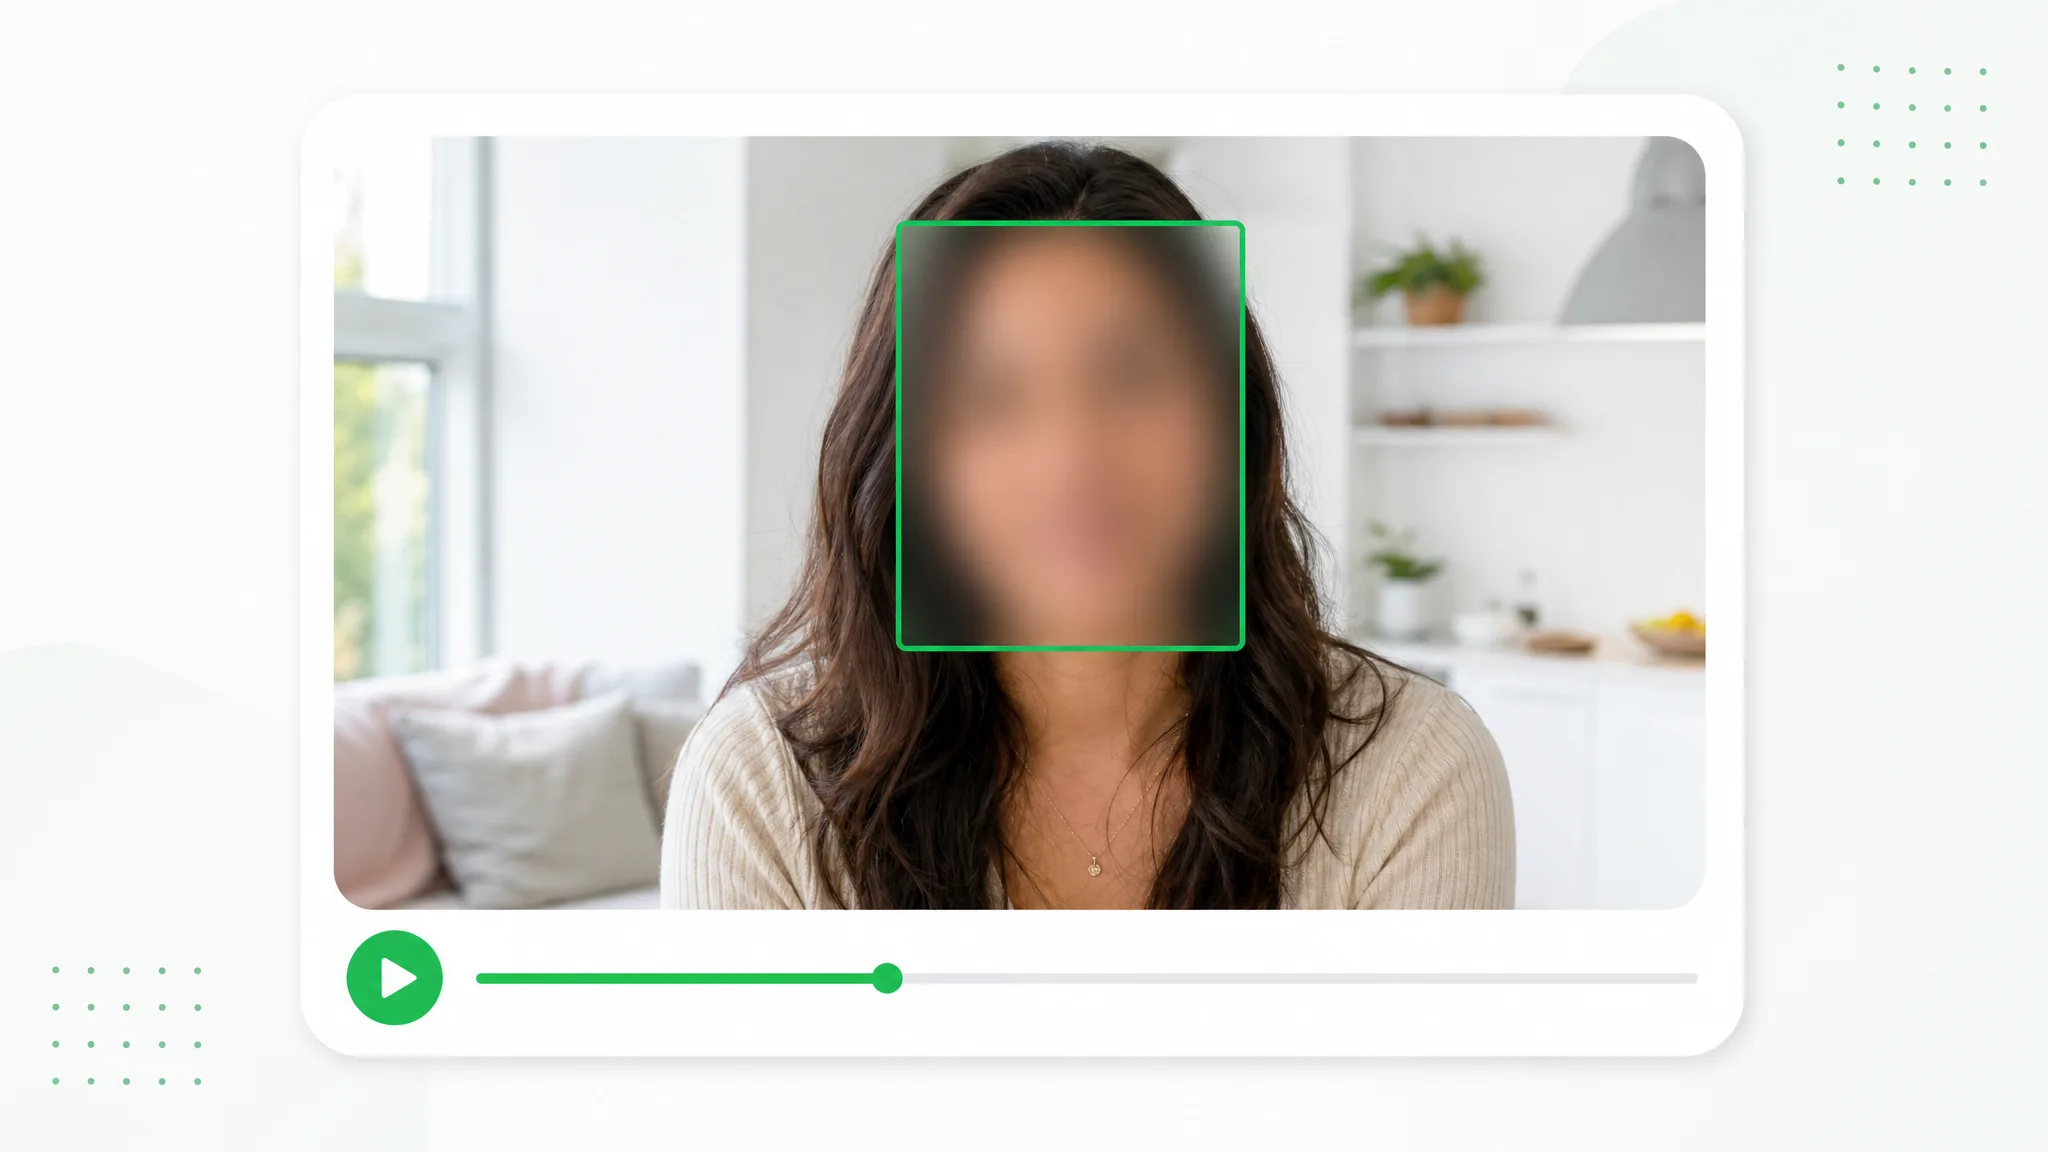
Choose which people remain visible in an interview, event recording or vlog. Draw a box for each face you want to cover, adjust the appearance and preview the edited video before sharing.
Try now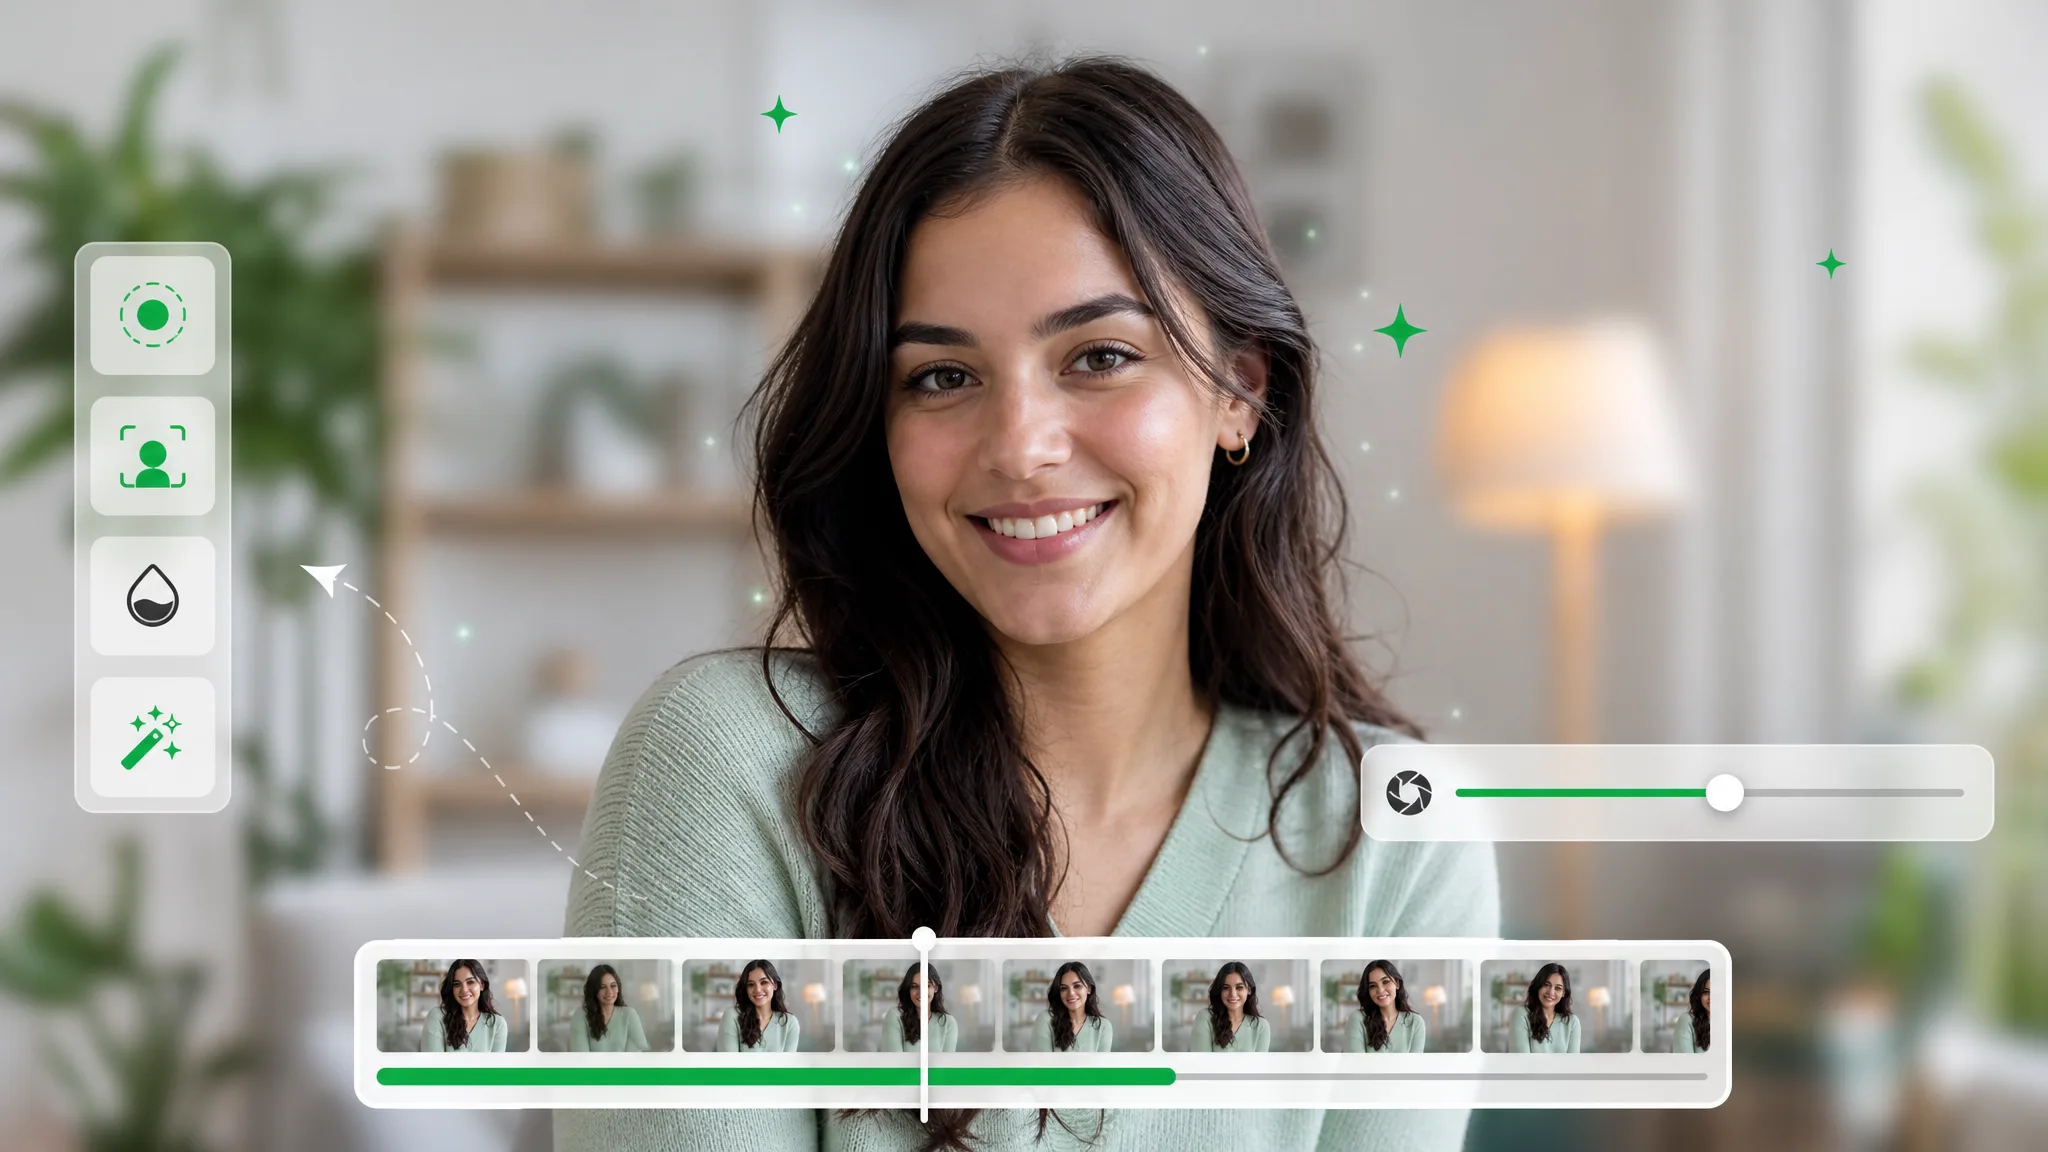
Soften the background of a recorded explanation, interview or introduction. Adjust the strength, start processing and preview a composition that brings attention to the subject.
Try nowPreview the edited sections and save a version for the tutorial or publication.
Choose a fileYour video never leaves your browser — every frame is processed on your device.