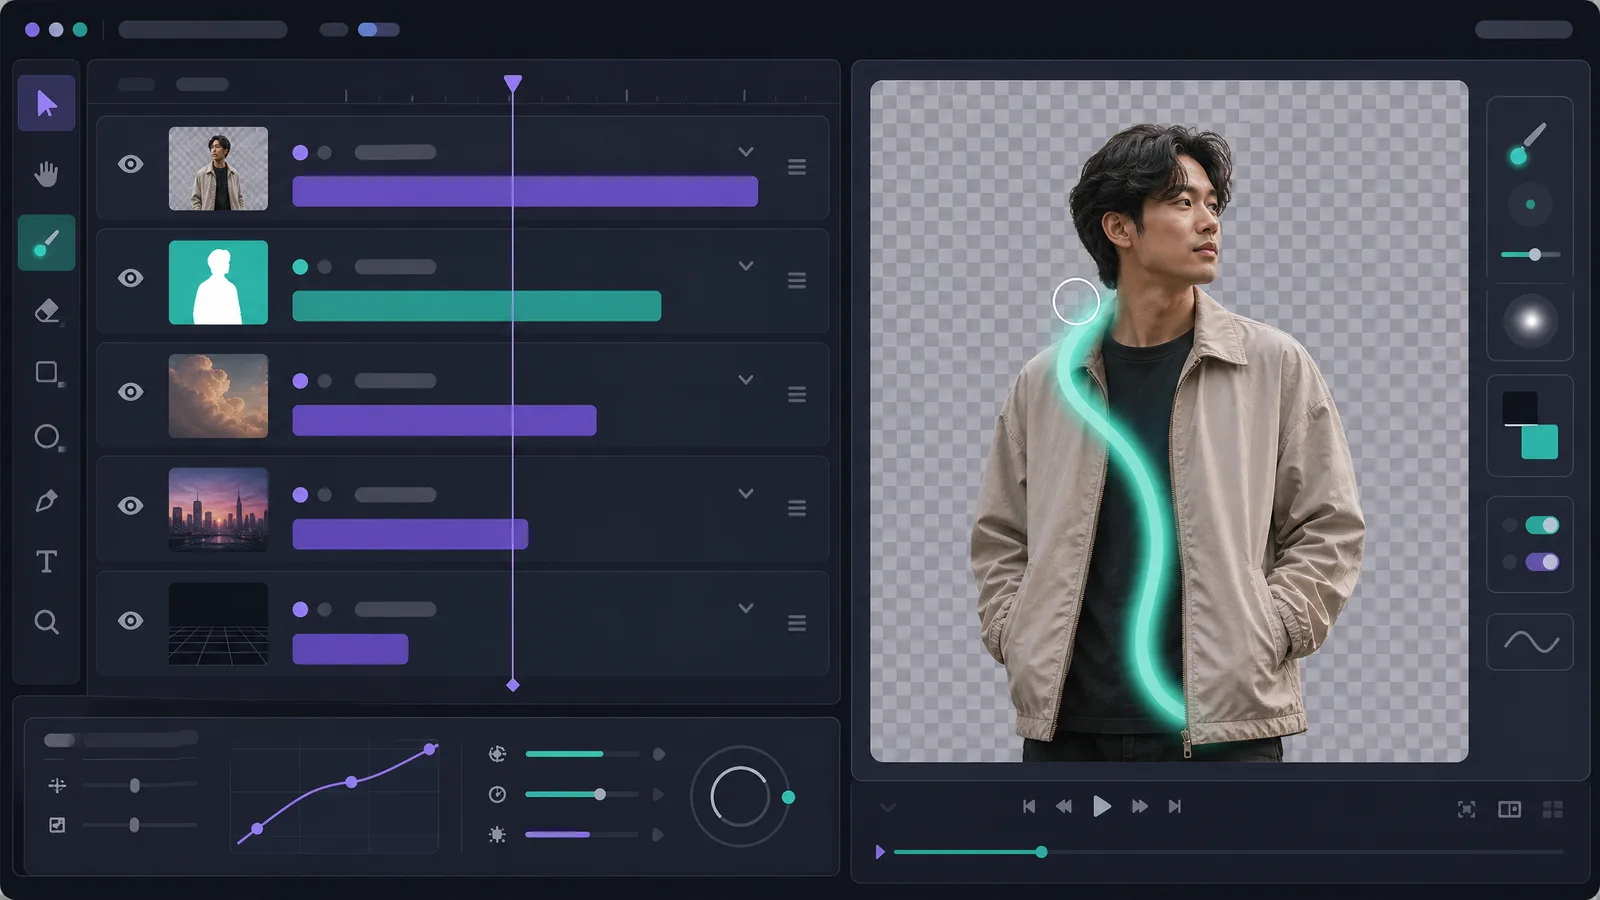
Here is the thing nobody tells you before you open the Effects panel: Premiere Pro has no one-click background removal. Every other major editor added an AI matting button — Resolve has Magic Mask, After Effects has the Roto Brush — and Premiere still gives you exactly two honest options. Key a colour, or draw the subject by hand. This guide covers both properly, then shows the shortcut most editors end up using when there was never a green screen to begin with.
Which Premiere Pro method should you use?
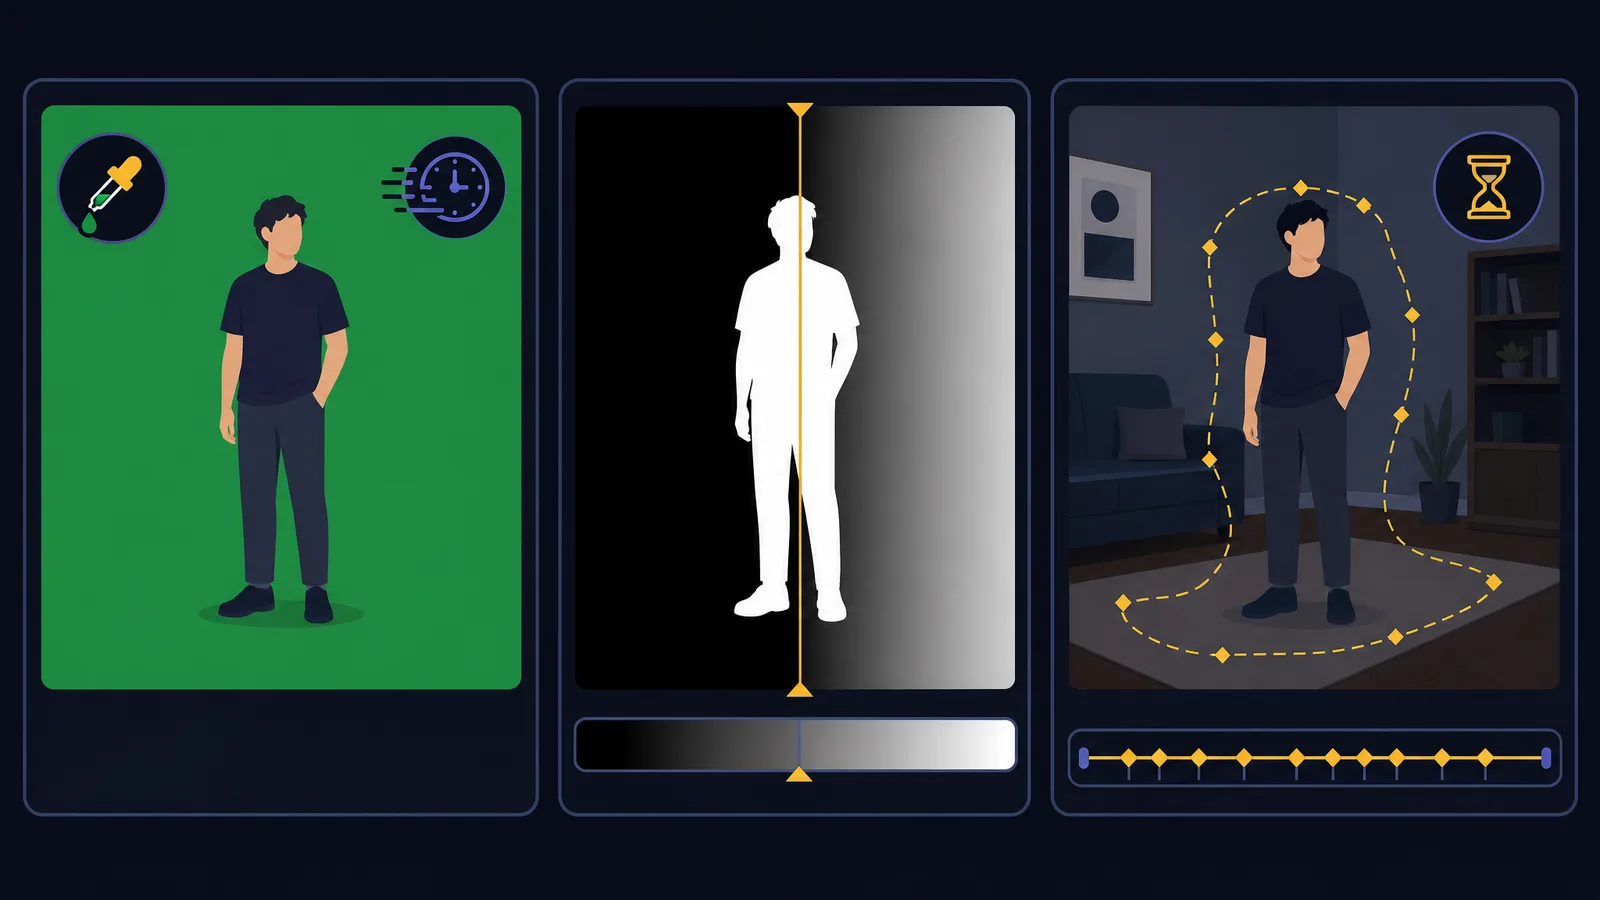
Use Ultra Key when you shot against a green or blue backdrop, Luma Key when you're pulling a static white or black graphic, and masking with keyframes when there is no clean colour to key at all. Premiere has no AI subject detection, so the third option is genuinely manual work.
That last sentence is the whole decision. The three paths are not three flavours of the same tool — they have different inputs and wildly different time costs:
| Method | Needs | Realistic time | Where it breaks |
|---|---|---|---|
| Ultra Key | Green or blue backdrop | 5–15 minutes | Uneven lighting, wrinkled fabric, subject wearing the key colour |
| Luma Key | High-contrast static graphic | 2–5 minutes | Anything with midtones — it keys brightness, not subject |
| Mask + keyframes (roto) | Nothing, works on any shot | 30+ minutes per 10 seconds | Your patience; every cut restarts the work |
If your footage falls into that third row, read the no green screen section first — it will save you an evening. And if you just need a transparent clip today, our online green screen remover handles both cases without a key at all.
See video background removal in action
Upload a clip and watch the background disappear — no green screen, no watermark, all in your browser.
Try it freeHow to key a green screen with Ultra Key
Drop Ultra Key onto your clip, click the Key Color eyedropper, and sample the green backdrop. Then switch the effect's Output to Alpha Channel so you can judge the matte in black and white instead of guessing from the composite.
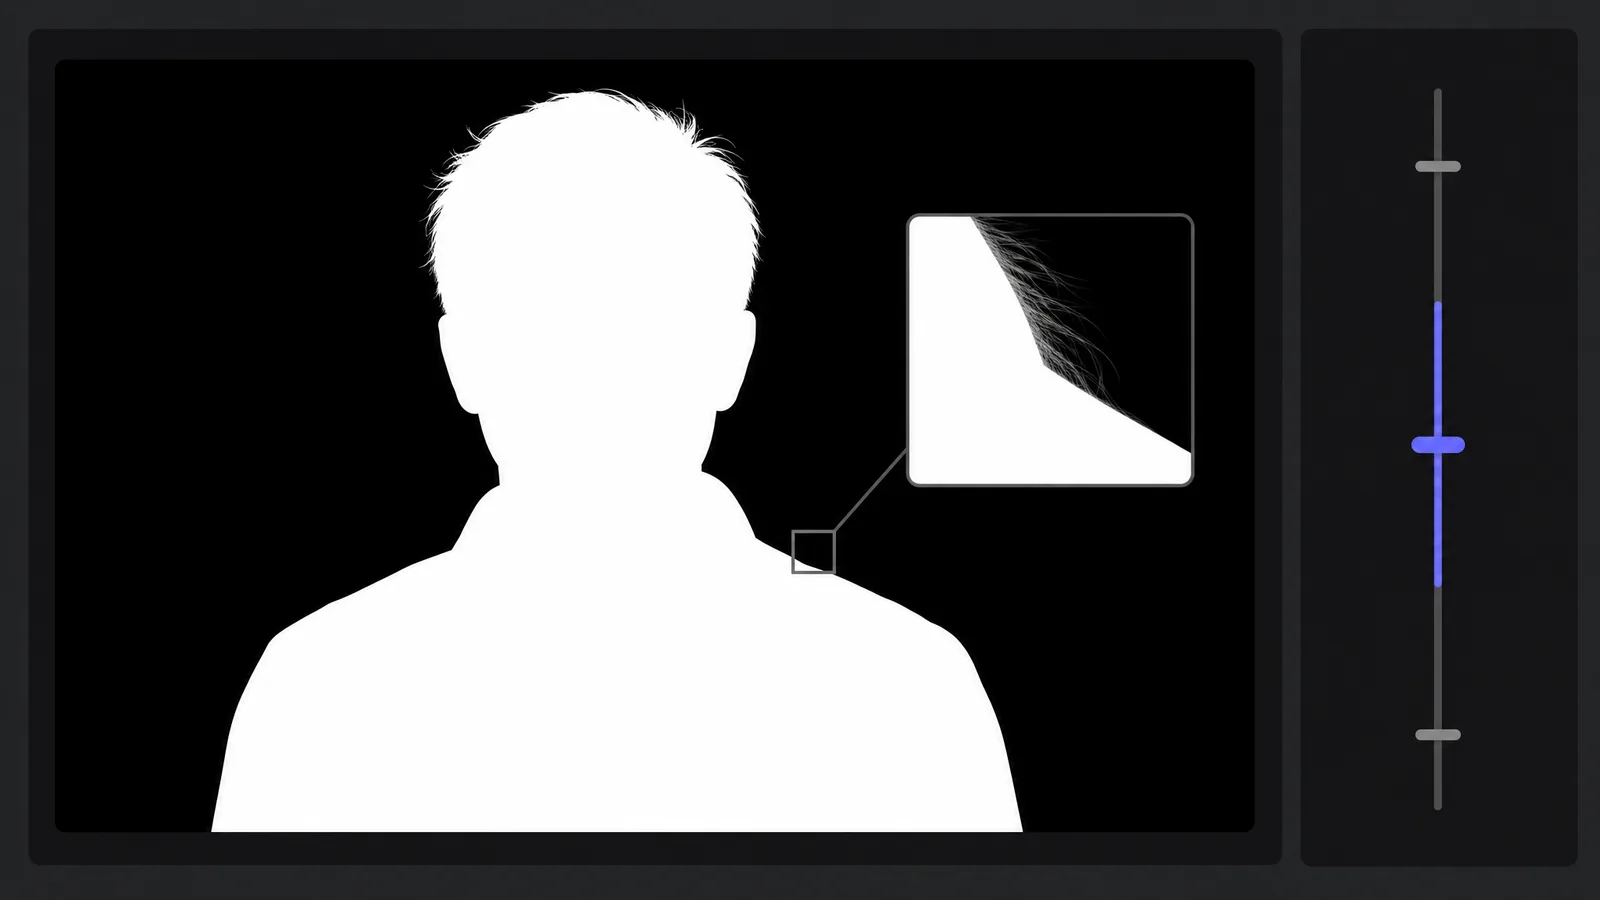
That Output switch is the single biggest upgrade to most people's keying, and almost nobody uses it. In Alpha Channel view your subject should be solid white and the backdrop solid black. Grey anywhere means semi-transparent pixels — which is correct for hair and motion blur, and wrong for the middle of someone's chest.
- Stack your clips. Replacement background on V1, green screen clip on V2 directly above it. Ultra Key makes pixels transparent; without something underneath, transparent just looks black.
- Apply the effect. In the Effects panel search for Ultra Key and drag it onto the V2 clip.
- Sample the colour. In Effect Controls, click the Key Color eyedropper and click the backdrop — pick an area near your subject's edge, not the brightest corner, because that is where the key actually has to work.
- Switch Output to Alpha Channel. Judge the matte, not the composite.
- Pick a Setting preset. Start at Default, move to Relaxed if edges are being eaten, Aggressive if the backdrop won't clear.
- Open Matte Generation. Raise Transparency until the background is fully black, then use Shadow and Highlight to close holes in the subject.
- Switch Output back to Composite and check it against the real background.
Work in Alpha Channel view for steps 4–6 and only return to Composite at the end. Judging a key against a busy background is how you end up with a matte that looks fine over blue sky and falls apart over a bright interior.
How to fix spill and chewed edges in Ultra Key
Green spill is bounced light from your backdrop landing on your subject's hair and shoulders. Fix it with Spill Suppression inside Ultra Key — and accept that if you push it far enough to kill a heavy rim, your subject turns faintly magenta.
Three problems account for nearly every bad Ultra Key result:
- Green rim on hair and shoulders → raise Spill Suppression. If skin tones start going pink, back off and use Matte Cleanup → Choke by one or two units instead.
- Crunchy, stair-stepped edges → your Transparency value is too aggressive. Lower it slightly and add Matte Cleanup → Soften rather than clamping harder.
- Holes in the subject → something on your subject shares the backdrop's colour. A teal jacket against a blue screen has no software fix in Premiere. Add a garbage matte with the pen tool and key the two regions separately, or reshoot.
There is a fourth cause that no slider touches, and it eats whole evenings: compression. Phones and consumer cameras record 4:2:0 colour, which stores colour information at a quarter of the luminance resolution. Green screen edges in that footage were never sampled finely enough to key cleanly — you will see blocky edges no amount of Matte Cleanup fixes, because the detail is not in the file. If you key regularly, shooting a 4:2:2 codec is a bigger quality jump than any keyer upgrade.
How to remove a background without a green screen in Premiere Pro
Draw a mask on the Opacity property with the pen tool, then keyframe it frame by frame as your subject moves. This is rotoscoping, and it is the only native way Premiere isolates a subject that was not shot against a keyable colour.
The honest workflow:
- Select the clip and open Effect Controls → Opacity.
- Choose the pen tool and trace your subject's outline.
- Enable Mask Path keyframing and step forward, correcting the shape as the subject moves.
- Use Mask Feather to soften the edge and Mask Expansion to nudge it in or out.
- Repeat. For every frame. For the whole shot.
Premiere's mask tracker will follow simple, slow movement, but it loses the shape the moment your subject turns, gestures, or crosses their own arm. Budget roughly 30 minutes of hand-correction per 10 seconds of moving footage and you will be about right.
Luma Key is the one shortcut worth knowing. If you are pulling a white logo, a title card, or a high-contrast graphic — not a person — apply Luma Key and it will knock out the bright or dark range in seconds. It keys brightness rather than subject, so it is useless on anyone standing in a normally lit room, but on the right asset it is instant.
How to put a new background behind the keyed clip
Once Ultra Key has made the backdrop transparent, whatever sits on V1 shows through. Compositing is not a separate effect — it is just layer order, and the work is making the two layers look like they were shot together.
Three things sell the composite, in rough order of impact:
- Match the colour temperature. A subject lit with warm tungsten in front of a cool blue exterior reads as fake instantly. Apply Lumetri Color to the subject layer and pull the white balance towards the background plate before you touch anything else.
- Match the black levels. Keyed footage often sits with lifted blacks against a background with crushed ones. Bring them together in Lumetri's Curves.
- Add a hint of edge light. Duplicate the subject, apply a slight blur and a colour taken from the background, and put it behind the original at low opacity. It fakes the light the new environment would have thrown onto your subject.
Scale and position come last, and the rule there is simple: do not scale the subject up past 100%. Premiere will interpolate, the edges you just spent time keying will soften, and the composite starts to look like a sticker. Frame your background plate to your subject rather than the other way round.
If the background you want is a still image or another video and you'd rather not build the composite by hand, our change video background page does the removal and the replacement in one pass.
Why Premiere Pro has no one-click AI background removal
Premiere Pro genuinely does not ship an AI matting tool that isolates a person without a green screen. Ultra Key needs a keyable colour, Luma Key needs contrast, and everything else is a mask you draw yourself.
This matters because most of the tutorials you'll find quietly skip it. They say "remove the background in Premiere Pro" and then demonstrate on green screen footage, which is not the same problem as the one you have if you filmed at a desk. Here is where the major editors actually stand:
| Editor | Green screen key | AI removal without green screen |
|---|---|---|
| Premiere Pro | Ultra Key | None built in |
| DaVinci Resolve | 3D Keyer, Delta Keyer | Magic Mask (Studio) |
| After Effects | Keylight (1.2) | Roto Brush 3 |
| CapCut | Chroma key | Auto cutout, quota-limited |
Adobe's own answer to this is After Effects — the Roto Brush workflow does AI-assisted rotoscoping properly, and Dynamic Link sends the clip over and back. That is a real solution if you already own it and don't mind the round trip. If you don't, it is a second application, a second learning curve, and a render.
Remove your video background now
Automatic, accurate cutouts in minutes. Start free — no install, no watermark.
Get startedWhen to cut out online and import back into Premiere
If you never shot a green screen, an AI matting tool produces a transparent clip in seconds that would take you half an hour to roto by hand — then you import that clip into Premiere and carry on editing normally.
The two approaches serve genuinely different jobs:
- Stay in Premiere when you shot a proper green screen, when the key is part of a larger colour pipeline, or when you need frame-accurate control over a specific difficult matte.
- Go online when there was no green screen, when you need several social clips out today, or when the alternative is rotoscoping.
Our video background remover runs the Bria v3 matting model, so it separates subject from background with no green screen at all and exports a transparent WebM with a real alpha channel that drops straight onto a Premiere timeline above your background layer. It's free to start, adds no watermark, and you pay only for the seconds you process. If you did shoot green, the dedicated green screen remover and chroma key remover pages target that job directly, and the transparent video guide covers which formats actually preserve alpha once you export again.
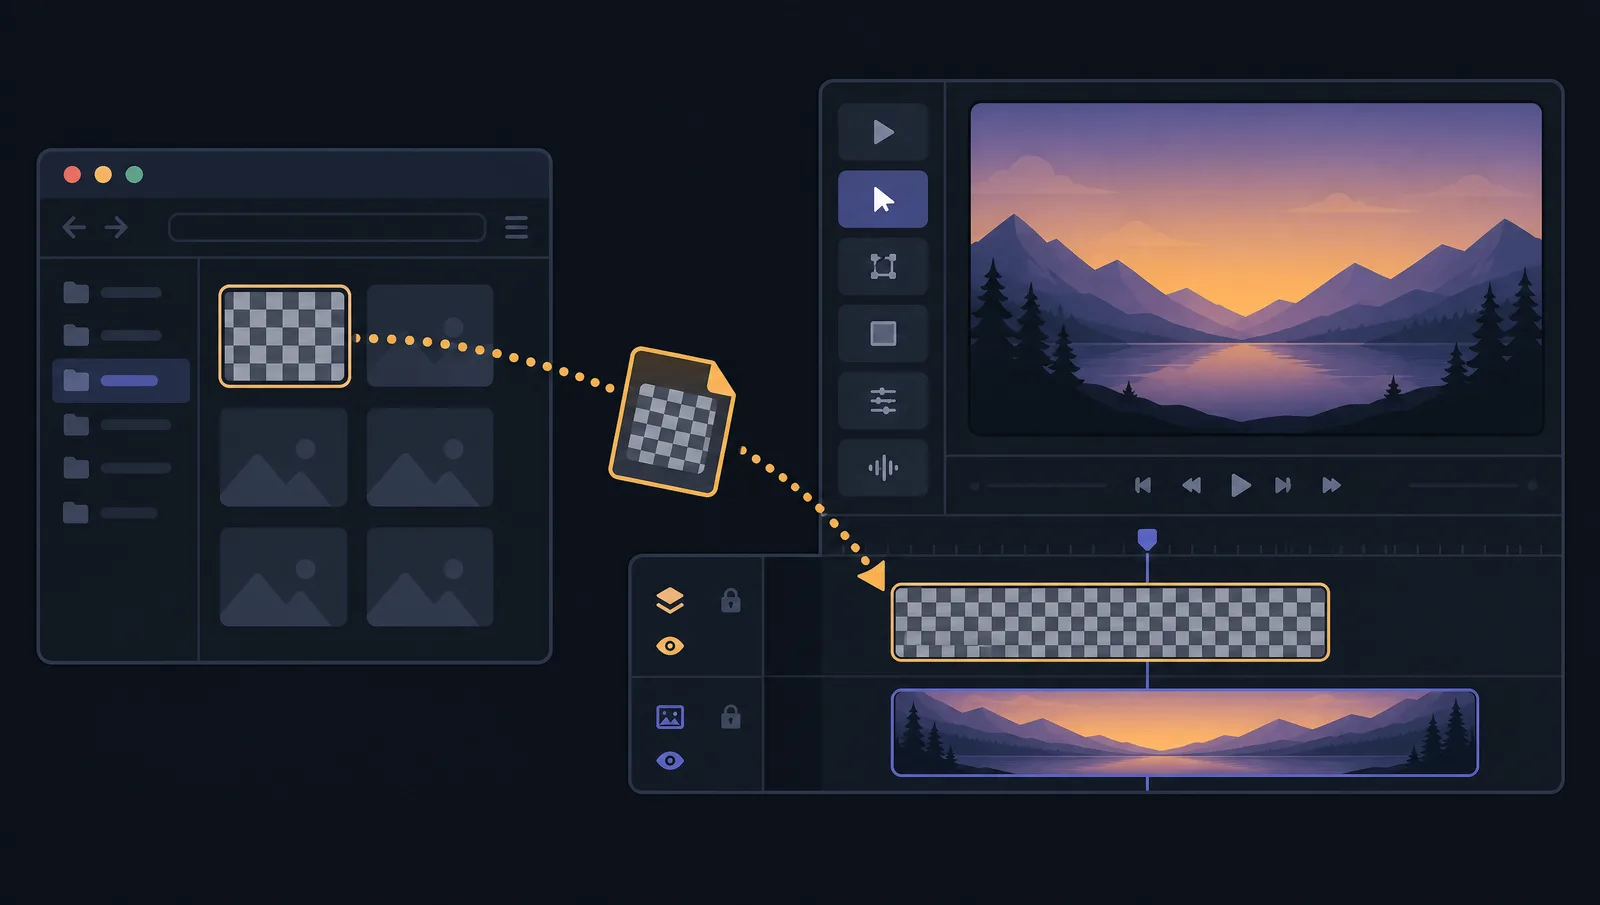
A hybrid a lot of editors settle into: pull the cutout online, import the transparent clip, and do the grading, titling and finishing in Premiere where it is genuinely strong. You skip the roto hour and keep your edit in one place. If you're comparing editors rather than staying in Adobe, DaVinci Resolve's three keying paths are the most capable free option, and CapCut's auto removal is the fastest if you can live with its export limits. For the green screen case specifically, our guide to removing a green screen from video compares the online route against Ultra Key side by side.
Frequently asked questions
Can Premiere Pro remove a background without a green screen?
Not automatically. Premiere Pro has no AI subject detection — your options are Luma Key for high-contrast graphics or drawing a mask on the Opacity property and keyframing it by hand. For people-shaped subjects in normal footage, that is rotoscoping.
What is the difference between Ultra Key and Chroma Key in Premiere Pro?
Ultra Key is Premiere's chroma keyer — the two names describe the same job. Older Adobe versions shipped a separate Chroma Key effect; current Premiere Pro consolidates green and blue screen keying into Ultra Key, which is faster and has better spill controls.
Why is my Ultra Key still showing a green edge?
That is spill — green light bounced from the backdrop onto your subject. Raise Spill Suppression in Ultra Key. If pushing it turns skin tones magenta, back off and choke the matte by one or two units instead, or fix the lighting on the next shoot.
How do I export a transparent video from Premiere Pro?
Choose a codec that carries an alpha channel and enable alpha in the export settings — H.264 MP4 cannot store transparency and will fill it with black. Our transparent export guide breaks down the format choices.
Does Ultra Key work on a white or black background?
Poorly. Ultra Key is built for saturated green and blue backdrops; white and black have no colour information to isolate. Use Luma Key for a high-contrast graphic on white, or key the subject out with an AI matting tool that does not rely on backdrop colour.
Can I use an online cutout inside Premiere Pro?
Yes, and it is a common workflow. Export a transparent WebM from an online remover, import it into Premiere, and place it above your background layer — you skip the keying step but keep Premiere's editing and colour tools.