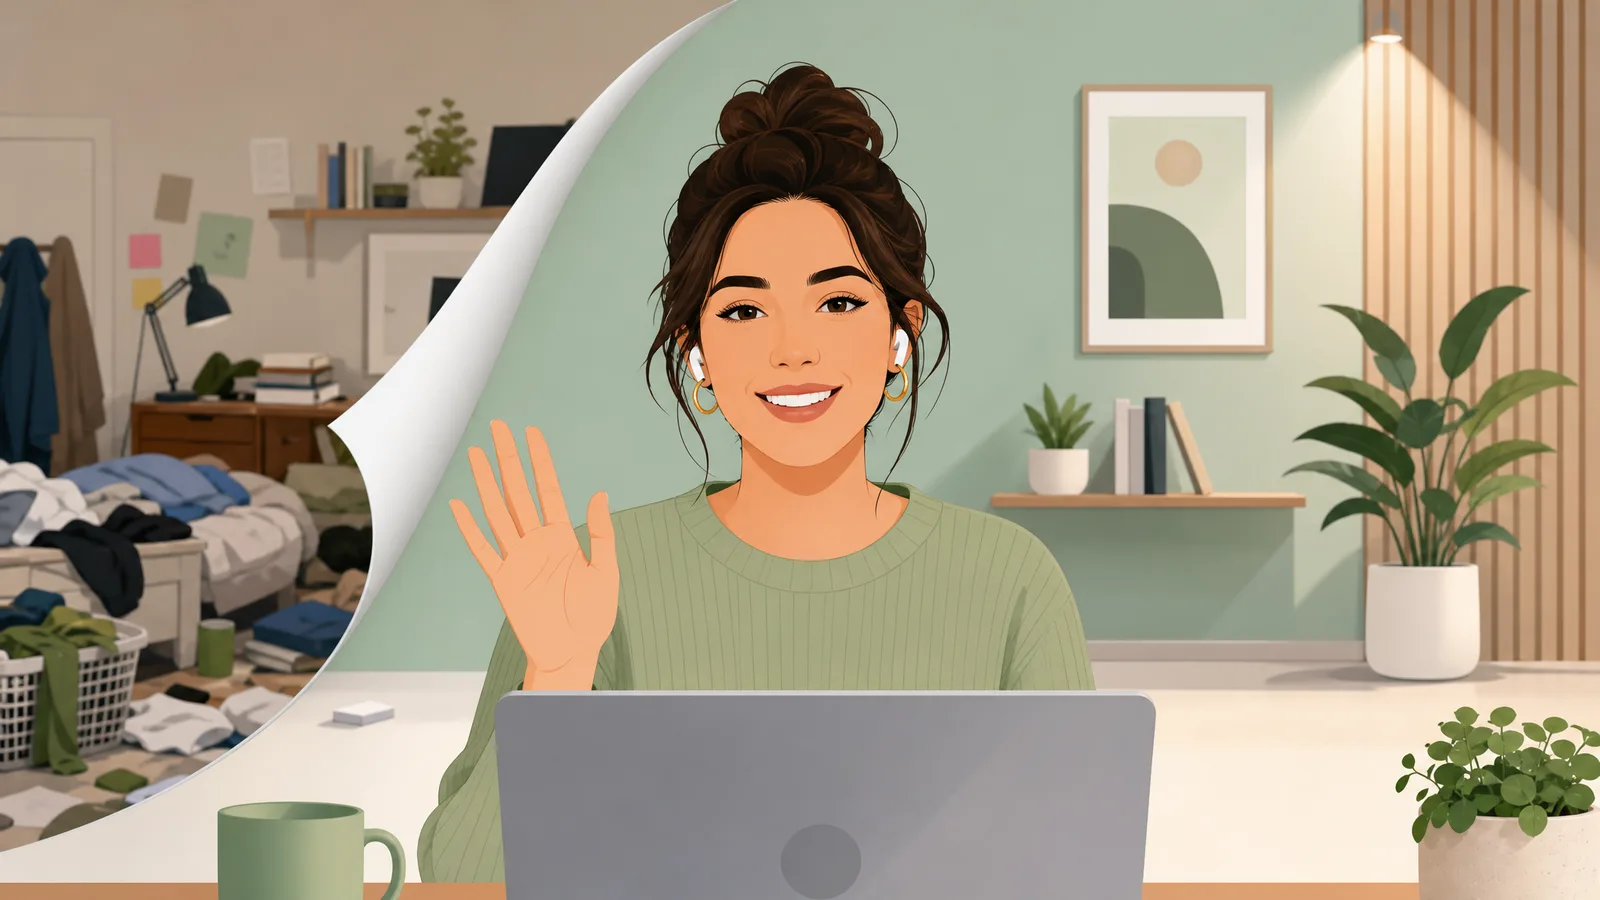
Maybe your room is messy, your brand needs a consistent backdrop, or your talking-head clip would look sharper on a studio scene. Changing a video background swaps whatever's behind you for a color, image, or scene of your choice — no green screen required. Below you'll replace a video background online in three steps, see how it differs from blurring or removing, and learn how to pick a background that actually looks real.
How to change a video background online
The quickest way needs no green screen and no editor — a browser-based video background changer does the cut and the swap:
- Upload your video — drag your clip into the tool, no install needed.
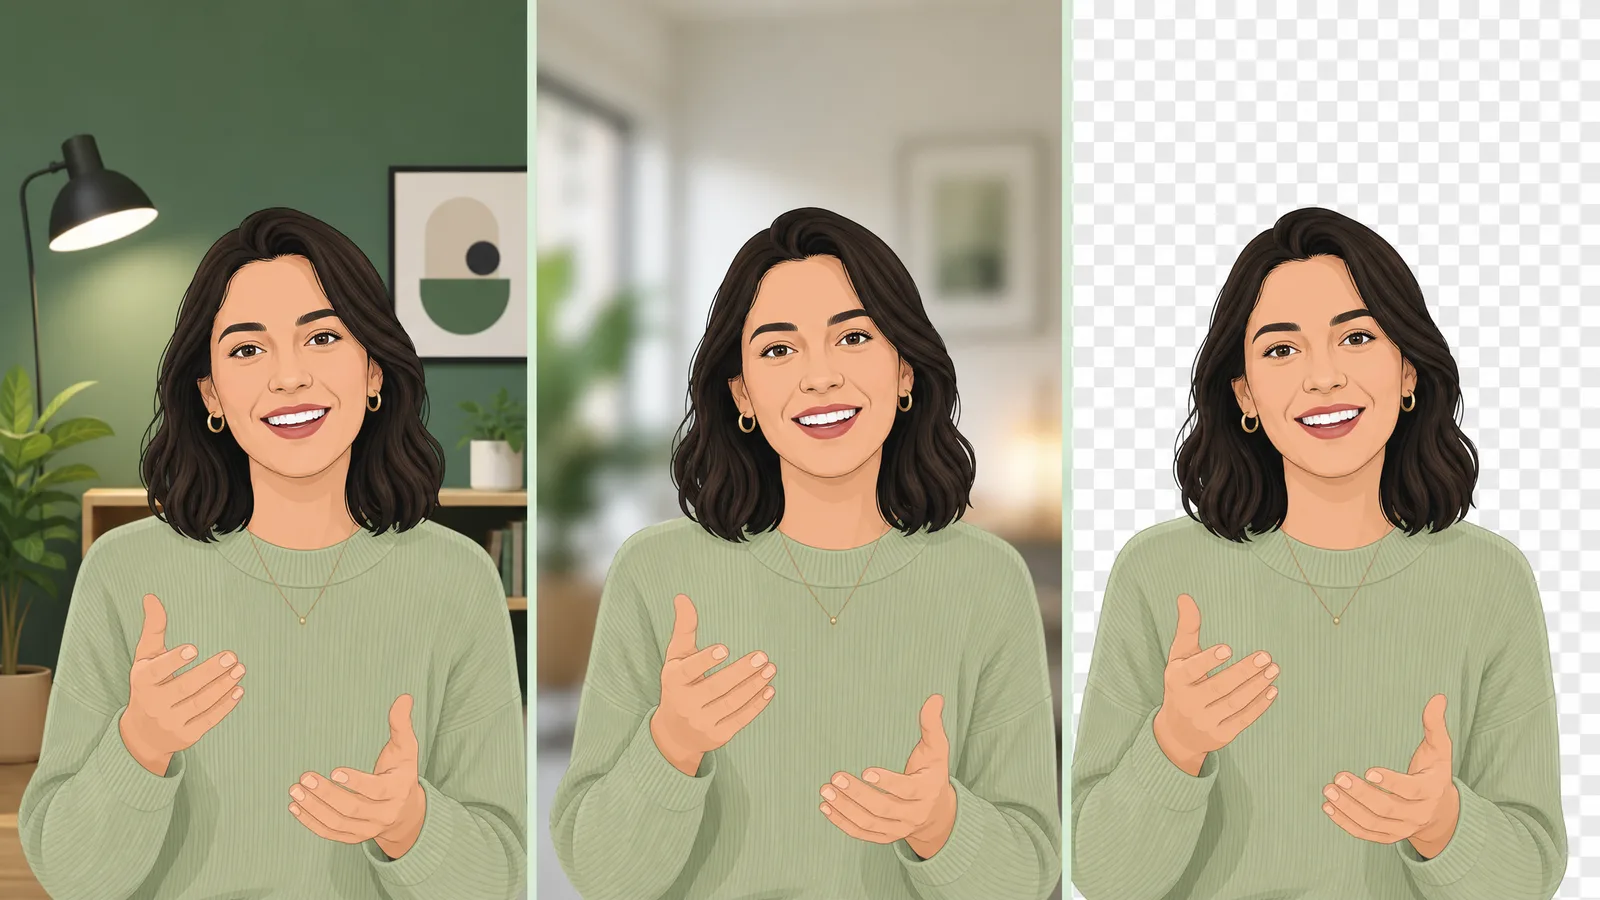
- Remove the original background — the AI cuts out your subject automatically, leaving a clean transparent edge.
- Drop in a new background — pick a solid color, an image, or a scene, then export with no watermark.
Because the AI separates you from the background directly, it works on everyday footage — no chroma sheet, no even lighting setup. If you'd rather start from a clean cutout, a video background remover gives you a transparent clip you can place on any background later.
See video background removal in action
Upload a clip and watch the background disappear — no green screen, no watermark, all in your browser.
Try it freeChange vs. blur vs. remove: which do you need?
These three sound similar but solve different problems:
| Goal | What it does | Best when |
|---|---|---|
| Change / replace | Swaps the background for a new color, image, or scene | You want a branded or themed backdrop |
| Blur | Softens the real background but keeps its shape | Live calls, quick privacy |
| Remove | Deletes the background to transparent | You'll composite onto other footage later |
If you want a specific new scene behind you — an office, a gradient, a product shelf — you want change/replace. If you just need the clutter gone for a meeting, blurring the background is faster. If you'll drop the clip into another edit, remove it to transparent instead.
Remove your video background now
Automatic, accurate cutouts in minutes. Start free — no install, no watermark.
Get startedHow to replace a video background in editing software
In CapCut, use Cutout → Auto cutout to isolate your subject, then add your new background on a layer below. In Premiere Pro, cut out the subject with Ultra Key (on a green screen) or the Roto Brush-style workflow, then place a background clip underneath. In After Effects, composite the cutout over a new background layer.
The editor route gives you keyframe-level control but needs either a green screen (here's how to remove a green screen) or manual rotoscoping. For a fast swap on recorded footage with no green screen, an online changer is far quicker — the AI does the masking for you.
How to pick a background that looks real
A swapped background only convinces if it matches your footage. Three quick rules:
- Match the lighting — a bright subject on a dark scene looks pasted on. Pick a background with similar light direction and warmth.
- Mind the perspective — eye-level subject, eye-level background. A top-down office shot behind a straight-on face reads as fake.
- Keep edges soft — hair and shoulders should blend, not cut hard. A good AI cutout preserves soft edges automatically.
For talking-head and UGC clips, a subtly blurred or simple gradient background often looks more professional than a busy photographic scene — it keeps attention on you and hides any imperfect edge.
How to use your own image or video as a background
A solid color or preset scene is the quick option, but a custom background is where changing a video background really pays off. Most tools let you upload your own image or even another video clip to sit behind your subject:
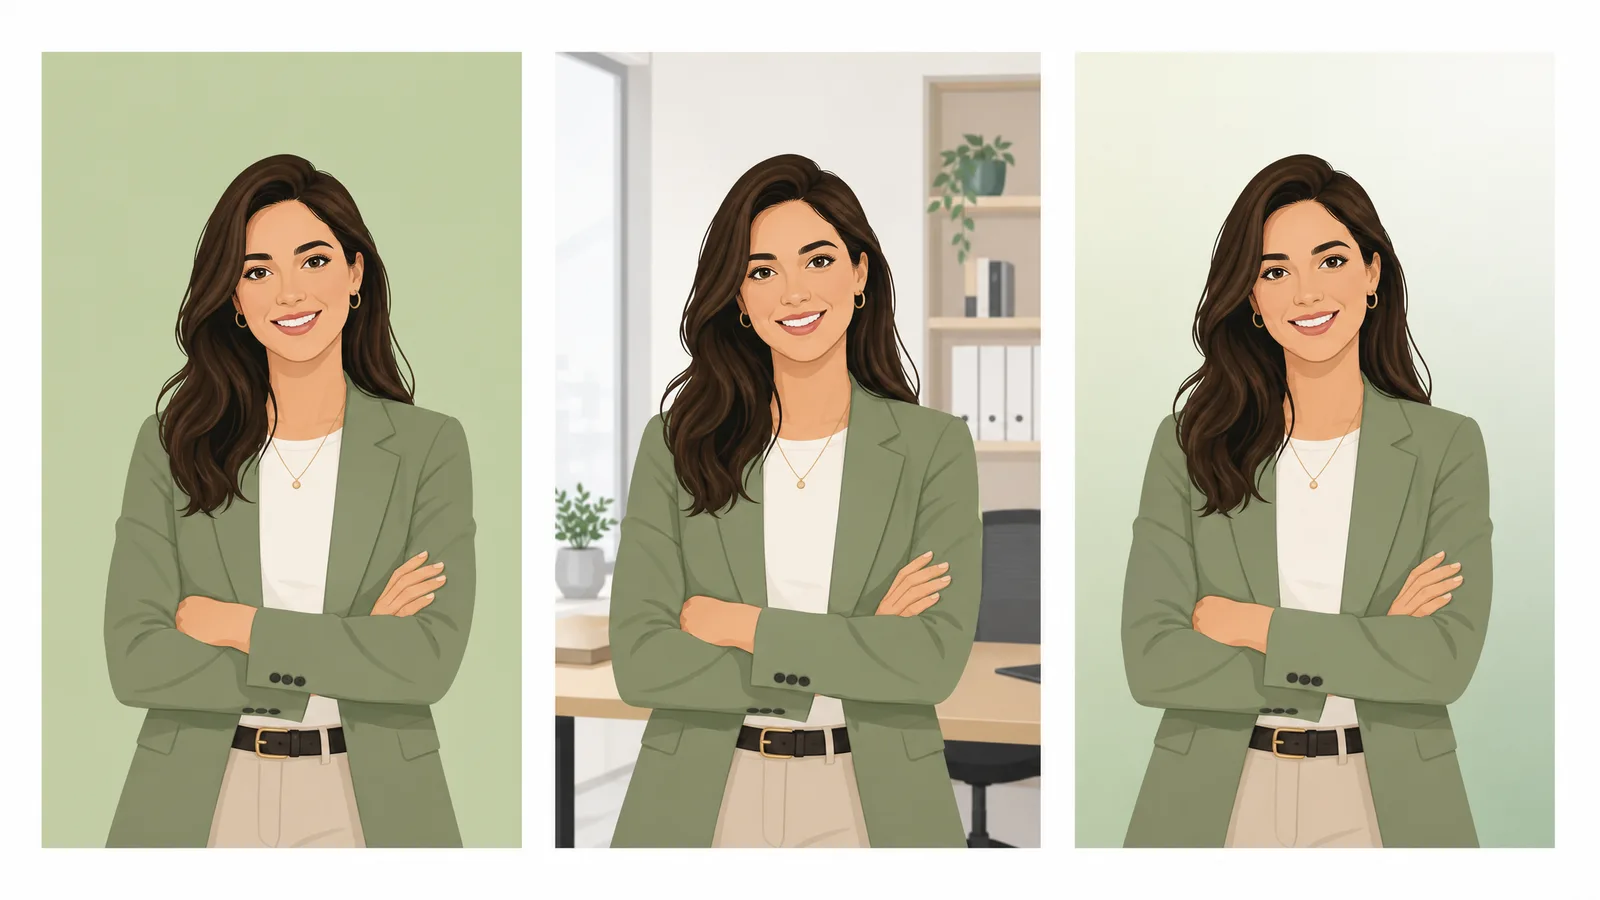
- Brand scenes — drop in a studio shot, a product shelf, or a branded gradient so every clip matches your look.
- Photographic backdrops — a real office, a café, or an outdoor scene that fits the story, as long as the lighting roughly matches your subject.
- Video backgrounds — a slow-moving loop (city traffic, abstract motion) adds life without pulling focus; keep it subtle so it doesn't compete with you.
The workflow is the same either way: the AI cuts you out, then composites you over whatever background you upload. If you want maximum flexibility, remove the background to transparent first and add the new scene in your editor — that way you can reuse the same cutout over different backgrounds later.
Background ideas that look professional
The background you pick changes how the whole clip reads. A few that consistently look polished:
- Soft gradient — a gentle two-tone gradient in your brand colors reads as clean and modern, and it never competes with your subject. Great default for talking-head video.
- Blurred office or studio — suggests a professional setting without the busy detail of a sharp photo; the blur also hides any imperfect cutout edge.
- Solid brand color — bold, simple, and instantly on-brand for social clips and intros.
- On-theme scene — a kitchen for a cooking clip, a desk for a tutorial — but only when the lighting and angle match your footage.
When in doubt, simpler wins. A clean gradient or soft blur looks more professional than a detailed photo that fights for attention or exposes a rough edge around your hair.
Common background replacement mistakes to avoid
Three things make a swapped background look fake, and all three are easy to fix:
- Lighting mismatch. A brightly lit subject on a dark scene (or vice versa) instantly reads as pasted on. Pick a background whose light direction and warmth roughly match your footage.
- Perspective mismatch. An eye-level face on a top-down room looks wrong. Keep the camera angle of the background close to the angle you filmed at.
- Hard, over-cut edges. Hair and shoulders should blend softly, not look scissor-cut. A good AI video background remover preserves soft edges automatically; if an edge still looks harsh, a slight background blur hides it.
Will background replacement work on my phone footage?
Yes — AI background replacement works on everyday phone clips, not just studio footage. Because the AI separates you from the scene rather than keying a single color, it handles handheld video, mixed lighting, and busy rooms that would defeat a chroma key. Two things still help the cut stay clean: film with even light on your face, and keep some contrast between yourself and whatever's behind you — a subject in a dark hoodie against a dark room is the hardest case to separate cleanly. Slightly shaky footage works too, though a steadier shot always gives crisper edges around hair and shoulders.
How to change your background in CapCut, step by step
CapCut is the most popular free option, so here's the full flow. Add your clip to the timeline and select it, then open Cutout and turn on Auto cutout — CapCut isolates your subject and makes the rest transparent, no green screen needed. Next, add your new background: tap + to add an image or video clip, drag it to a track below your subject, and it shows through wherever the background used to be. Resize the background to fill the frame, and if the edge around your hair looks harsh, nudge the feather or opacity in the cutout settings until it blends. Finally, export — CapCut keeps your replaced background in the final MP4. The whole process takes a couple of minutes, and because Auto cutout is AI-based, it works on everyday footage without a chroma key. For finer control over the edge, a dedicated video background remover gives a cleaner cutout you can drop onto any background.
How to change your background on Zoom and Teams calls
Changing your background on a live call is different from editing a recorded clip — it's a built-in virtual background feature, not a video export. In Zoom, go to Settings → Background & Effects and pick a preset scene or upload your own image. In Microsoft Teams, open Background filters before joining or More → Effects and avatars mid-call, then choose a background. These swap your room for a still image in real time, but they can flicker at your edges on weaker webcams. If you just want to hide clutter rather than replace the scene, blurring the background is lighter and looks more natural. For recorded video, an online changer gives a far cleaner, more flexible result than any live virtual background.
After you change the background: exporting and platforms
Once the new background looks right, how you export depends on where the video is going. For social media (Instagram, TikTok, YouTube), export a standard MP4 — the background is baked in, so it plays everywhere. For further editing, keep the highest quality your tool offers so the composited edges stay clean through another render. If you might want to swap the background again later, don't flatten it yet: remove the background to transparent and keep the cutout as a separate WebM or MOV, so you can drop it onto a different scene without re-cutting. Match the resolution to the platform — 1080p is plenty for most social, while 4K only matters if your source footage is genuinely that sharp.
How long does it take, and does it work on long clips?
For most short clips — intros, social posts, talking-head segments — changing the background takes under a minute of processing once you've uploaded. Longer videos take proportionally longer because the AI processes every frame, but length isn't a barrier on its own. The bigger factors are resolution and motion: a 4K clip with lots of movement takes more compute than a still 1080p shot. If you're working with a long recording, it's worth doing a short test segment first to confirm the cutout looks clean before processing the whole thing — the same edge and lighting rules apply whether the clip is ten seconds or ten minutes.
Can you change the background of a live video or stream?
Changing a background in real time is different from editing a recording. On live calls, virtual background features in Zoom, Teams, and Google Meet swap your room for a still image as you talk — handy, but they flicker at the edges on weaker webcams and offer only basic scenes. For live streaming, OBS and Streamlabs can key a green screen behind you in real time, or layer a transparent overlay on top. The trade-off is that real-time swaps prioritize speed over edge quality, so they rarely look as clean as post-production. For anything recorded — intros, tutorials, social clips — changing the background afterward with an AI tool gives a noticeably cleaner, more flexible result, because the AI can take its time on every frame instead of keeping up with a live feed. The result is worth the short wait — a clean cutout you can reuse on any background, not just the one you happened to pick first.
FAQ
How do I change the background of a video?
Upload your clip to an online video background changer, let the AI remove the original background, then drop in a new color, image, or scene and export — no green screen, no install, and no watermark.
Can I change a video background without a green screen?
Yes. AI background changers separate your subject from the background directly, so they work on everyday footage with no green screen. A green screen can give slightly cleaner edges but is no longer required.
What's the difference between changing and removing a video background?
Changing replaces the background with a new color, image, or scene. Removing deletes it to a transparent alpha channel so you can composite the clip onto other footage later. Use change for a finished look, remove when you'll edit further.
How do I change a video background for free?
Use a free online video background changer: upload, let the AI cut out your subject, choose a new background, and export with no watermark. Free editors like CapCut can also swap backgrounds with their auto-cutout tool.
Can I replace a video background with my own image?
Yes. Most background changers let you upload your own image or video as the new background, so you can drop in a branded scene, a product shelf, or any custom backdrop behind your subject.
Why does my new background look fake?
Usually a lighting or perspective mismatch — a brightly lit subject on a dark scene, or an eye-level face on a top-down room. Pick a background with similar lighting and angle, and keep subject edges soft rather than hard-cut.